

Ethan Brooks
Focused on sustainable practices, careful seed selection, and hands-on experience, our family work closely with nature to produce quality harvests while continuously learning and improving each year..
Latest Posts


Archive
Tags
Social Links
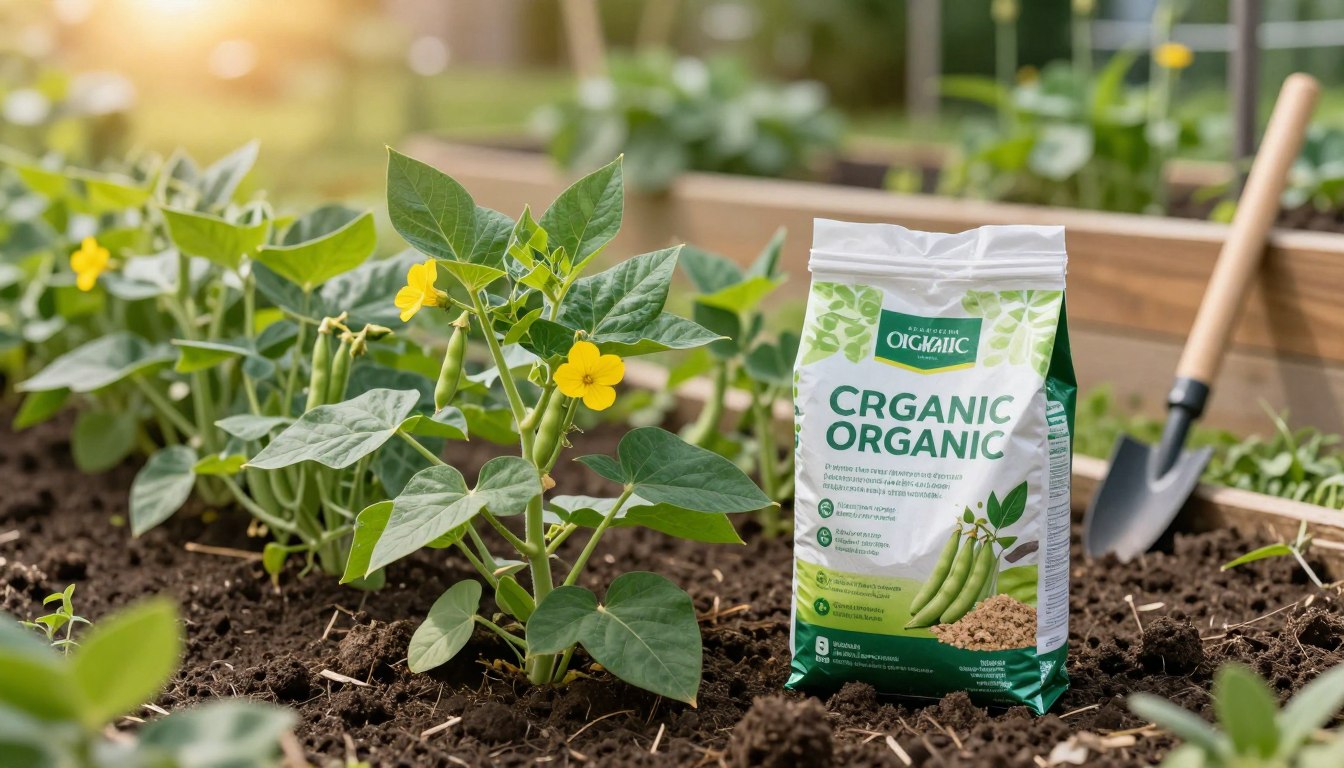

I explain the Best Fertilizer for Green Beans in plain terms so you can help your plants produce more pods this season.
I plant beans in warm soil and watch them respond to steady nutrients. I follow seed packet advice and wait until soil hits at least 55 °F so seeds germinate well.
Green beans thrive between 65 °F and 85 °F, and they need nitrogen, phosphorus, and potassium at the right times. I add compost to build organic matter and balance nutrients before planting.
Whether I grow bush or pole varieties, I space and water them carefully, apply light fertilization when leaves show growth, and keep plants healthy for harvest. This short guide shows what I use and when I apply it to get steady, tasty pods.
Key Takeaways
- Plant when soil reaches about 55 °F for good seed germination.
- Keep air temps near 65–85 °F for strong growth.
- Use compost and balanced nutrients (N-P-K) timed to growth stages.
- Adjust care by variety—bush and pole types differ in time and support.
- Shallow planting (about 1 inch) and regular water help steady yields.
Understanding the Nutritional Needs of Green Beans
I always start by testing the soil and tracking how my plants respond. Green beans prefer a slightly acidic soil near pH 6.5, which helps them take up nutrients easily. Keeping that pH steady makes a big difference in early growth and pod set.
Nitrogen Fixation in Legumes
I know beans are legumes that host bacteria in their roots to fix nitrogen from the air. This means my plants do not need a lot of added nitrogen like heavy-feeding crops. Still, young bean seedlings benefit from a nutrient-rich seedbed until root nodules form.
Essential Macronutrients for Pod Development
Potassium and phosphorus play a key role in strong pods. I watch levels of these macronutrients because they support flowering and pod development. A balanced nutrient mix keeps each bean plant healthy and productive.
- I test pH and adjust soil before planting.
- I avoid heavy nitrogen applications so pods set well.
- I monitor potassium and phosphorus to improve pod quality.
For more detail on feeding and timing, see my guide to feeding green beans.
Preparing Your Garden Soil for Planting
I mix compost into the topsoil to create a light, friable bed that helps young plants establish fast.
Start by loosening the soil to about 6–8 inches so roots face no resistance. Beans do best when the seed sits about 1 inch deep and the rows are 3 feet apart. I space seeds roughly 6 inches within the row to give each bean room to grow.
I work in a generous layer of compost to improve drainage and add slow-release nutrients. This organic matter helps the bed hold moisture without becoming waterlogged and gives the nitrogen a steady supply as nodules form.
I check the needs of each variety before planting. Some types prefer sandier soil, others like loam. Preparing the bed weeks ahead lets the structure settle so seeds and seedlings get a strong start.
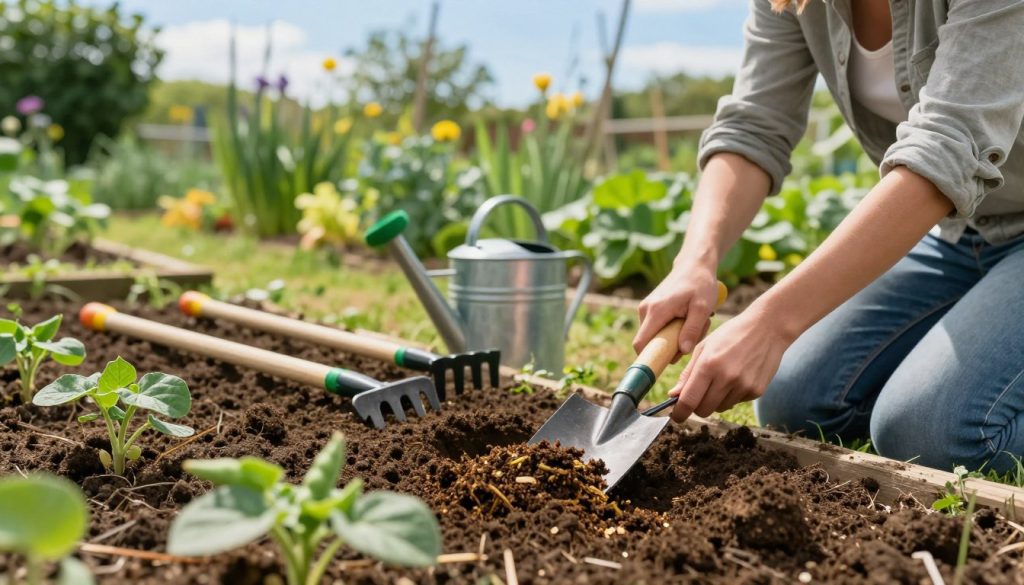
- Plant seeds 1 inch deep and 6 inches apart.
- Keep rows 3 feet apart for good air flow and harvest access.
- Amend with compost to boost drainage and nutrient supply over the next 60 days.
Selecting the Best Fertilizer for Green Beans
I compare nutrient ratios and salt levels to decide what goes into the bed. Choosing the right option means balancing quick plant growth with long-term soil health.
Organic choices like compost and well-rotted manure improve soil structure and release nutrients slowly. They lower the risk of burning roots and support microbial life that helps beans fix nitrogen.
Synthetic options give a fast nutrient boost. In the absence of a soil test, I add 5 pounds of 5-10-15 per 100 feet of row to avoid early deficiencies. I use this sparingly to protect roots.
How I decide between types
- I prefer compost for steady nutrient release and better soil over time.
- When quick phosphorus or potassium is needed, a controlled synthetic can help.
- A 2:3:2(22) blend incorporated two weeks before planting gives even early-season support.
| Type | Primary Benefit | When I Use It |
|---|---|---|
| Compost (organic) | Improves soil, slow nutrient release | Every spring and at bed prep |
| 5-10-15 (synthetic) | Quick P and K boost, measured N | 5 lb per 100 ft of row if no soil test |
| 2:3:2 (22) blend | Balanced, steady feed for pods and roots | Incorporate two weeks before planting |
Timing Your Fertilizer Applications
I schedule each feed around the plant’s stages so nutrients match real demand.
At planting, I mix a light dose of fertilizer into the soil and water the row so the seed settles and germination starts well.
I apply a second feed when the first small green beans appear. This supports flowering and pod set without pushing excess nitrogen that can harm pods.
I plan all applications with the 45 to 60 day harvest window in mind. That helps me space feeds every few weeks while watching leaves for yellowing or slow growth.
- I check the garden daily to confirm water and nutrient needs.
- I avoid heavy nitrogen early and target it only when plants show real demand.
- Consistent, timed fertilization keeps pods producing until late summer.
| Timing | Action | Why I do it |
|---|---|---|
| Planting (day 0) | Light starter fertilizer + water | Helps seed establish in loose soil |
| First pods appear | Second, balanced feed | Supports flowering and pod development |
| Every few weeks | Minor applications as needed | Maintains steady nutrients through growth |
| Late season | Reduce feeds | Avoid over-fertilization before harvest |
For more timing tips and a full schedule, see my guide on how to grow green beans.
Effective Methods for Nutrient Delivery
I place nutrients where roots can access them fast, matching method to garden conditions so the soil and plants respond well.
Surface Application Techniques
I spread a light layer of fertilizer on the soil and keep it a few inches away from each stem to avoid burning the seedling. After applying, I always water the bed so nutrients move down to the roots.
Side Dressing for Root Health
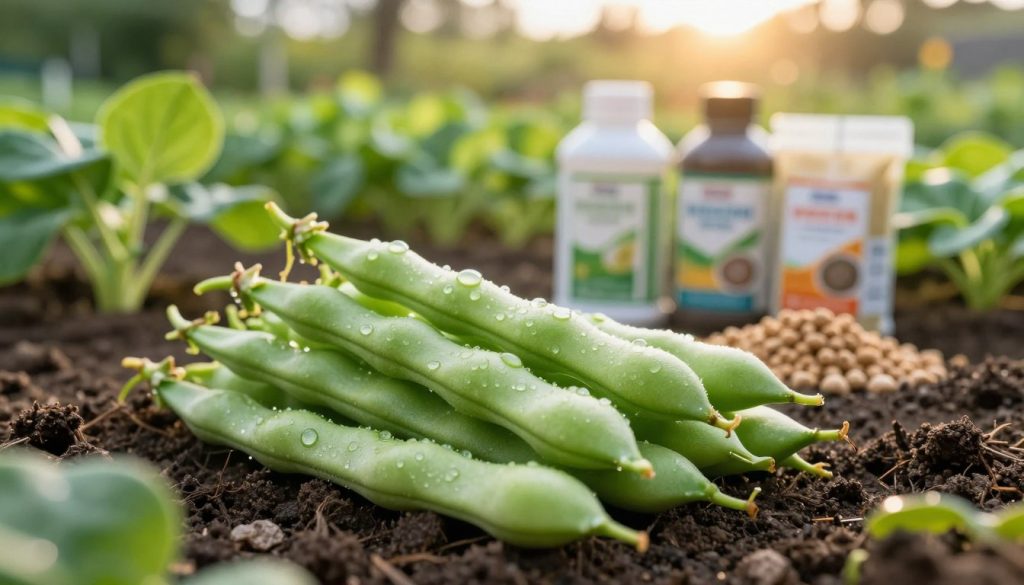
Side dressing delivers nutrients right to the root zone. I side-dress rows when my plants are three to four weeks old.
I add 20 to 30 pounds of nitrate nitrogen per acre-equivalent in that window. This boost supports steady growth and a bigger harvest without excess foliage at the wrong time.
Foliar Feeding for Quick Absorption
Foliar sprays help when leaves show a shortfall. I spray a mild solution on the leaves during calm, cool days for fast uptake.
- I combine surface feeds, side dressing, and foliar applications to keep nutrients steady.
- Potassium and phosphorus reach pods better when placed near roots at the right time.
- Always consider soil moisture and weather before any application to protect root health.
| Application | When | Benefit |
|---|---|---|
| Surface spread | At planting | Starter nutrients near seed |
| Side dress | 3–4 weeks | Direct root feeding, boosts pods |
| Foliar spray | Peak growth days | Quick leaf absorption |
Preventing Over-Fertilization and Nutrient Burn
I watch my beans closely after any feed to catch signs of nutrient overload early.
Too much fertilizer can burn leaf edges and stunt plant growth. If I see yellowing along a leaf edge, I flush the soil with lots of water right away to move excess salts away from roots.
Good drainage matters. I improve soil structure with compost so fertilizers do not build up and stress the root zone. That also helps with even water movement.
When I use foliar sprays or side dressing, I follow labeled rates and wait several weeks after stress signs before applying more. A little goes a long way with these plants.
- I check leaves and pods for discoloration before any new application.
- I water deeply after feeding so nutrients reach roots, not just the surface.
- I pause fertilization if plants show stress and monitor for recovery.
| Warning sign | Immediate action | Prevention |
|---|---|---|
| Yellow leaf edges | Flush soil with water | Improve drainage, add compost |
| Stunted growth | Hold off on next application | Use lower rates, test soil |
| Leaf tip burn after foliar | Rinse leaves with water | Mix at recommended strength, spray in cool hours |
Watch pods and fruit as indicators of balanced nutrients. For broader garden care, see my feeding and timing guide.
What Fertilizer Should I Use When Planting Green Beans for a Successful Crop?
To ensure a successful crop of green beans, choose a balanced fertilizer rich in nitrogen. Apply it at planting and again when the plants reach 6 inches tall. Understanding when to plant green beans for success will also enhance growth, yielding a bountiful harvest full of flavor.
Managing Common Pests and Diseases
I scout my rows each morning to catch pests and disease before they spread. Early detection helps me protect my green beans and keeps the harvest steady.
Insects like leaf beetles, aphids, and spider mites show up fast. I remove heavy infestations by hand and use insecticidal soap when needed. Beneficial insects and companion planting help keep pest pressure low.
Fungal and bacterial problems such as anthracnose, rust, powdery mildew, and grey mold thrive in damp conditions. I plant resistant varieties, space plants for good air flow, and prune crowded foliage to reduce humidity near the soil and roots.
I rotate crops yearly to prevent soil-borne disease buildup. I also keep the garden tidy, removing debris and infected plant parts right away. Providing balanced nutrient care and steady soil moisture makes my plants less attractive to pests and better able to recover from stress.
| Issue | Action I Take | Why It Works |
|---|---|---|
| Leaf beetles / aphids | Handpick, use insecticidal soap | Reduces population without harming beneficials |
| Powdery mildew / rust | Improve air flow, choose resistant variety | Lowers humidity and disease susceptibility |
| Grey mold / soil pathogens | Rotate crops, clean soil surface | Prevents pathogen buildup in soil |
- I monitor roots and leaves regularly to catch issues early.
- I remove affected parts fast and adjust care to protect nearby plants.
- Proactive management keeps my garden productive and my bean varieties strong.
Conclusion
This short conclusion ties the key steps together so you can act with confidence in the garden.
I hope this guide gave you clear, usable steps to care for your beans. Watch soil and leaves, and make small adjustments as plants grow.
Proper fertilizer choices and timely fertilization are what keep plants productive. Spend a little extra time checking nutrient needs rather than rushing big feeds.
Use gentle fertilizers and place them where roots can reach. Correct application and avoiding overfeeding make the biggest difference.
Whether you are new or experienced, a careful approach will reward you with steady pods. Thank you for reading and good luck with your garden and its fertilizer choices.