

Ethan Brooks
Focused on sustainable practices, careful seed selection, and hands-on experience, our family work closely with nature to produce quality harvests while continuously learning and improving each year..
Latest Posts


Archive
Tags
Social Links
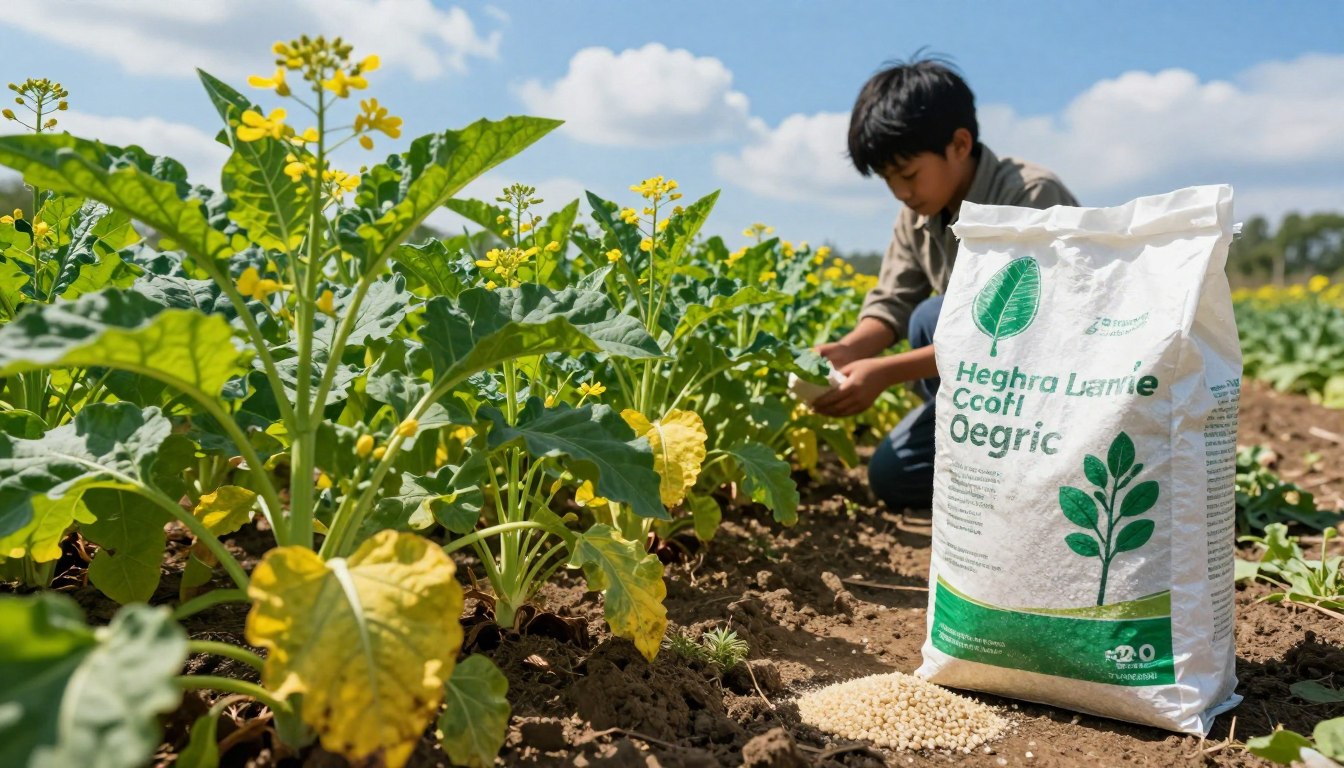

Best Fertilizer for Mustard Greens is the quick answer I give when friends ask how to boost leaf size and flavor in my cool-season bed.
I pick high-quality seeds and ready the soil so the mustard greens plant can grow fast. I focus on steady nitrogen and loose soil to feed tender leaves that reach harvest weight in 30 to 60 days.
I avoid summer heat and plant in spring or fall, where light frost won’t hurt salads. I choose the right variety for my climate and give each plant enough space by an inch or more so roots and leaves don’t compete.
In short: good soil, timed planting, and the right feed make my garden produce steady, tasty greens all cool-season long.
Key Takeaways
- Use quality seeds and prepare soil before planting.
- Focus on steady nitrogen to speed leafy production.
- Plant in spring or fall to avoid bitter leaves from heat.
- Space plants to protect roots and improve size.
- Monitor light, moisture, and frost to extend the season.
Understanding the Nutritional Needs of Mustard Greens
Understanding the biology of Brassica juncea guides each feeding and watering choice I make. I focus on what the plant needs to build tender, peppery leaves and steady production in a cool season.
Botanical Requirements
Brassica juncea is a leafy vegetable with a rosette habit. Its roots absorb nutrients best when the soil is loose and balanced.
Nitrogen drives rapid leaf growth and the bold flavor I want in salads. I manage nitrogen carefully to avoid early bolting.
Growth Habits
The rosette form means leaves spread outward, so spacing and steady conditions help size and texture. I watch daily for heat stress in summer that can force flowers early.
I pick varieties suited to my climate that tolerate a light frost in spring or fall. That choice helps keep my plants productive through cool days.
Preparing Your Garden Soil for Optimal Growth
I start soil prep weeks before planting to give my bed time to settle and feed young plants. This pause helps me correct texture and fertility so the mustard greens get a smooth start.
I test pH and aim for a range of 6.0–7.0. That window helps roots take up nutrients and avoids common deficiencies that stunt growth.
Next, I work several inches of aged compost into the topsoil. Adding organic matter improves structure, drainage, and microbial life. Well-drained soil prevents root rot and keeps plants productive through the season.
I sow seeds about 1/4 inch deep and keep the bed evenly moist until they emerge. I use a digging fork to loosen compacted patches and spread nutrients where roots will reach them.
- Do this: mix in compost, check pH, avoid waterlogged spots.
- Do this: maintain steady nitrogen so leaves grow large and flavorful.
- Do this: space rows and monitor sun and frost to protect size and production.
Selecting the Best Fertilizer for Mustard Greens
I choose a feed that matches quick leaf growth and keeps my plants steady through cool weather. A balanced mix gives the nitrogen that drives big leaves while supporting roots and resilience.
Choosing Between Organic and Synthetic Options
Organic types release nutrients slowly and build soil life. Synthetic types act fast and let me correct deficiencies by the week.
I follow target rates: 80–120 lb N, 40–60 lb P, and 60–80 lb K per acre. I split applications—half at planting and the rest midseason—to protect flavor and size.
| Nutrient | Range (lb/acre) | Role |
|---|---|---|
| Nitrogen | 80–120 | Drives leaf production |
| Phosphorus | 40–60 | Root and early growth |
| Potassium | 60–80 | Disease resistance, vigor |
- I match the type to my garden needs and soil test.
- I avoid over-applying and follow label rates to protect plants and the season’s production.
Timing Your Fertilizer Applications
I set a simple feeding rhythm to keep my mustard greens growing steady.
Split nitrogen between planting and side-dressing. I apply half at planting and save the rest for a side-dress a few weeks after the seeds germinate. This supports early root work and later leaf growth without forcing bolting.
I feed my plants with a water-soluble fertilizer every seven days. Weekly feedings keep leaves tender and improve flavor for salads and family meals.
I always water the garden thoroughly after each application. That moves nutrients into the soil so roots can take them up quickly.
In spring and fall I watch the weather. Heat can push plants to bolt and make leaves bitter. I space my rows about 12 inches apart so I can side-dress easily and harvest without crowding.
| Action | When | Benefit |
|---|---|---|
| Starter N | At planting | Strong roots, early growth |
| Side-dress | 2–3 weeks after germination | Boost leaf size and production |
| Weekly soluble feed | Every 7 days | Consistent flavor and tender leaves |
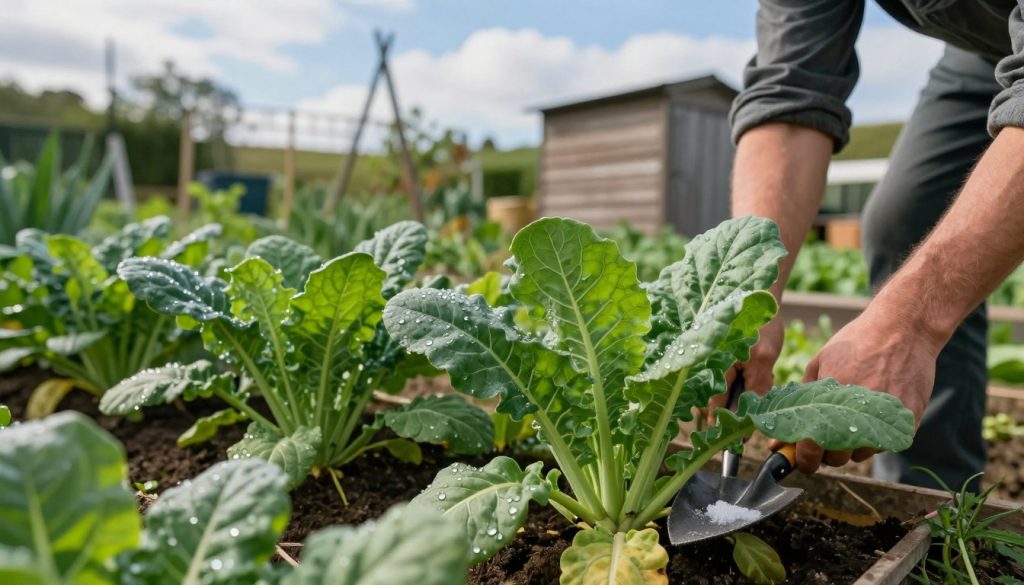
Incorporating Organic Matter for Soil Health
When I fold compost into the topsoil, I see faster growth and healthier leaves within weeks. Building organic content improves texture, boosts nutrient cycling, and helps the soil hold water between rains.
Benefits of Compost
I mix several inches of aged compost into my garden before planting. That organic matter feeds microbes, loosens compacted soil, and supports steady leaf production in my mustard greens.
Using Aged Manure
Well-rotted manure adds slow-release nutrients that strengthen my plants. I apply it a few weeks before planting so it settles and does not burn young roots.
- I add aged compost to the top 4–6 inches to build fertility and moisture retention.
- Using well-rotted manure improves vigor and helps plants resist pests and disease.
- I rotate crops and space beds to protect soil health and long-term production.
Managing Soil pH and Nutrient Balance
Maintaining pH and nutrient balance is the quiet work that makes my leaves bold and healthy.
I regularly test my garden soil to keep pH near 6.5–6.8. That range helps prevent clubroot and lets my mustard greens absorb key nutrients.
I use lime if tests show acidity. A light application raises pH and improves long-term plant health. I always follow label rates and retest after a few months.
I also add compost and organic matter when I prepare beds. Compost buffers pH swings and feeds the soil life that my plants depend on.
Balancing nutrients with a measured application of fertilizer and compost keeps leaves flavorful. Proper pH means roots take up nitrogen, calcium, and magnesium when the season brings heat or a surprise frost.
For more planting details I check a growing guide and a timely how-to resource:
| Action | When | Why it helps |
|---|---|---|
| Test soil pH | Before planting, then monthly | Keeps pH at 6.5–6.8 to discourage clubroot |
| Add lime | If pH | Raises pH, improves nutrient availability |
| Incorporate compost | At bed prep and yearly | Buffers pH, feeds microbes, improves structure |
Watering Practices to Support Nutrient Uptake
I keep soil moisture steady so roots can pull nutrients without stress. Consistent moisture helps young roots explore and lets the plant convert feed into larger, tender leaves.
Aim for about one inch of water per week. I measure by a rain gauge or by timing drip emitters. This steady supply supports nutrient uptake and keeps flavor intact through the season.
Drip Irrigation Benefits
I use drip lines to send water right to the base of each plant. That approach keeps foliage dry and reduces fungal risk.
Watering in the morning helps leaves dry in the sun and lowers disease pressure. In hot weather I check soil by pushing a finger two inches deep; if it feels dry, I add water.
- I give my mustard greens about an inch of water per week to keep soil consistently moist.
- Morning watering reduces fungal issues and helps leaves dry quickly in sun.
- Drip irrigation delivers water to the root zone and preserves the flavor of my greens.
- Deep, regular waterings produce larger, more tender leaves than light, infrequent wettings.
- Consistent moisture prevents stress that can make my plants bolt in spring or fall.
Protecting Your Crop from Common Pests
Catching pest damage early keeps my plants vigorous and my harvest on schedule. I walk the beds twice a week to spot chewing, sticky residue, or tiny clusters under the leaves.
Identifying Aphids
Aphids cluster on new growth and the undersides of leaves. I look for sticky honeydew and curled leaf edges.
How I handle them: I blast aphids off with a strong water spray or apply insecticidal soap when infestations grow.
Controlling Flea Beetles
Flea beetles make small holes in young leaves and can slow growth. I protect seedlings by installing floating row covers.
Row covers keep beetles off until plants are sturdy enough to tolerate minor feeding.
Managing Cabbage Loopers
Cabbage loopers chew large holes and hide on the underside of leaves. I use Bacillus thuringiensis (Bt) when I find caterpillars.
Bt targets loopers while leaving beneficial insects alone. I also encourage ladybugs and lacewings to patrol my garden for natural control.
| Pest | Signs | My Control |
|---|---|---|
| Aphids | Clusters, honeydew, curled leaf | Water spray, insecticidal soap, encourage predators |
| Flea beetles | Shot-hole leaves on seedlings | Floating row covers, quick thinning, rotate rows |
| Cabbage loopers | Large chew holes, caterpillars under leaf | Apply Bt, hand-pick, attract parasitic wasps |
Strategies for Successful Seasonal Planting
I sow small batches every 2 to 3 weeks so I have a steady supply of fresh mustard greens through spring and fall.
I set young plants in the garden 4 to 6 weeks before the first expected frost. That timing helps me hit a good harvest window and avoid losses to early cold.
I always mix compost and organic matter into the soil before planting. This gives seedlings a fast start and improves water retention.
- I protect young plants with row covers to fend off insects and light frosts.
- I choose several varieties to vary flavor and heat tolerance in my beds.
- I space rows about 12 inches apart to make weeding and harvest easier.
Plan planting time around local frost dates and rising summer heat. For extra tips on timing and seed choices, I consult a concise growing guide.
Harvesting Techniques for a Bountiful Yield
Using a steady cut-and-come-again routine extends my harvest by weeks.
I pick young leaves for salads during cool spring and fall weather. Those tender leaf cuts have the mildest flavor. I harvest them in the morning when sun and dew keep leaves crisp.
I wait 30 to 60 days from planting to take mature leaves for cooking. When plants reach full size I cut outer leaves about 1–2 inches from the stem.
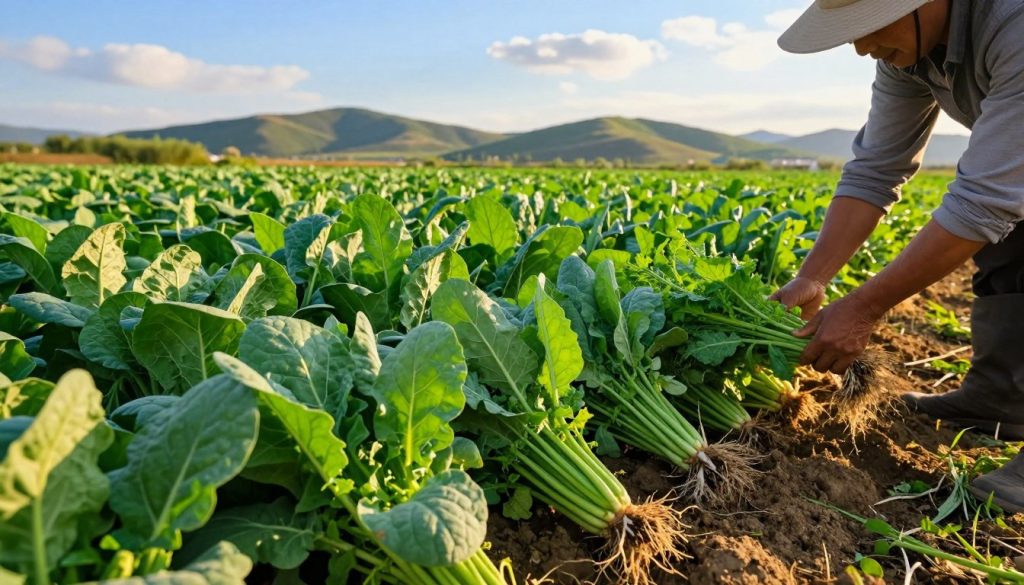
Even as yellow flowers appear, I still take leaves, though the flavor grows peppery. I leave the center intact to encourage regrowth after light frosts.
- I harvest regularly to prevent overcrowding and keep the garden healthy.
- Cut outer leaves, avoid removing the crown, and rotate varieties to extend the season.
- Watch heat and frost warnings; sudden warm spells can push plants to bolt.
| Stage | Time after planting | Flavor & use |
|---|---|---|
| Baby leaves | 30 days | Mild, best for salads |
| Mature leaves | 40–60 days | Robust, good cooked |
| Flowering | After 6–8 weeks | Peppery, still usable |
Can Planting Time Affect the Effectiveness of Fertilizer for Mustard Greens?
Timing is crucial in gardening, especially regarding fertilizer effectiveness. Knowing when to plant mustard greens can significantly enhance nutrient uptake. Planting too early or late may lead to suboptimal growth, as the plants might not benefit fully from the applied fertilizers, affecting yield and flavor. Aim for the right season!
Post-Harvest Handling and Storage Tips
Right after picking, I sort and cool the crop to protect texture and flavor. I rinse the leaves in cold water to remove field grit and to stop field heat quickly, which helps the harvest stay crisp.
After washing, I gently dry the leaves with a clean towel or a salad spinner. I handle each leaf with care to avoid bruises, since damaged leaves spoil faster in the fridge.
I store the greens in a cool, humid place—ideally in the crisper drawer wrapped in a damp cloth or in a breathable bag. This keeps them tender and extends shelf life, but I watch for any signs of frost damage when cold snaps arrive.
If I can’t use my harvest within a few days, I blanch and freeze the leaves for cooked dishes. Using them fresh, picked early in the morning before the sun warms the bed, gives the best flavor and texture.
Conclusion
, Tending soil, water, and pests with routine care turns small beds into reliable producers.
I find growing leafy crops rewarding because the work pays back at the table. Focus on soil health, steady fertilization, and consistent watering to help plants thrive in cool weather.
Watch pests early and use succession sowing to keep a steady supply of fresh leaves all season. Choose varieties that suit your climate and protect them during heat spells.
Final tip: follow a concise planting guide to refine timing and bed prep, and enjoy harvesting home-grown veggies from spring through fall.