

Ethan Brooks
Focused on sustainable practices, careful seed selection, and hands-on experience, our family work closely with nature to produce quality harvests while continuously learning and improving each year..
Latest Posts


Archive
Tags
Social Links


I want to help you grow taller, fuller okra plants with simple steps I use in my garden.
I answer the question “Best Fertilizer for Okra” quickly: choose a balanced feeding plan that gives phosphorus at planting, moderate nitrogen during leaf growth, and extra potassium at bloom and pod set.
Good soil pH (6.0–6.8), added organic matter, and steady water make those nutrients work. I monitor soil temperature and roots, and I add compost or manure before I plant to build strong roots.
I learned that timed fertilization and proper irrigation let okra reach up to six feet and produce more pods through the season. For a complete feeding schedule and product notes, I follow the practical guide at this Greenway Biotech article.
Key Takeaways
- Start with phosphorus at planting to build strong roots.
- Use moderate nitrogen in early growth, then shift to potassium at flowering.
- Keep soil pH near 6.0–6.8 and add organic matter before planting.
- Water consistently and check soil temperature for seed and root health.
- Track timing: expect first harvest in about 60–70 days.
Understanding the Nutritional Needs of Okra
I tune feeding as Abelmoschus esculentus moves from leaf growth to bloom. Okra is a warm-season crop that asks for different care at each stage. I watch how the plant shifts priorities so I can feed at the right time.
Healthy soil supports that change. Early on, roots and leaves need steady nitrogen and phosphorus. As flowers form, I reduce nitrogen because excess at flowering delays pod production.
Magnesium matters. It sits at the center of chlorophyll and helps my plants make energy. I also keep soil moisture even so calcium moves to the developing pods and avoids blossom end problems.
- I treat soil as the foundation for every nutrient the plant will use.
- I avoid heavy nitrogen during bloom to prevent leafy, non-fruiting okra plants.
- I adjust feeding through the season so pods set and mature reliably.
Preparing Your Garden Soil for Success
I always begin my season by tuning the soil so plants get a strong start. Good prep means fewer problems and steadier growth through bloom and harvest.
Testing Your Soil pH
I test my soil to confirm the pH sits between 6.0 and 6.8. That range helps okra access nutrients easily.
If pH is too low I add lime; if it is high I use sulfur. I also wait until the soil temperature stays above 65°F before planting okra seeds.
Incorporating Organic Matter
Before I sow, I work compost or aged manure into the top 6–8 inches of beds. This boosts fertility and improves structure.
For raised beds I calculate additions per 100 square feet so nutrients are balanced.
- Space rows 3 to 4 feet apart and plants 12 to 24 inches apart to avoid crowding.
- Level the garden, clear weeds, and firm the soil so roots don’t sit in water.
- Focus on organic matter to help okra plants establish and produce more pods.
Selecting the Best Fertilizer for Okra
Choosing the right feed starts with knowing what your garden soil lacks. I run a soil test and match nutrients to the plant stage so my okra plants get what they really need.
I favor specific products from Greenway Biotech when I want predictable results. For leafy growth I use Ammonium Sulfate 21-0-0. On acidic plots I reach for Calcium Nitrate 15.5-0-0.
When pods form, Potassium Sulfate 0-0-53 improves pod quality. If tests show low phosphorus I apply MAP 12-61-0.
I also use an organic fertilizer or other organic fertilizers to build long-term soil health. Water-soluble fertilizers make regular feeding simple and consistent.
| Product | N-P-K | When I use it | Benefit |
|---|---|---|---|
| Ammonium Sulfate | 21-0-0 | Vegetative stage | Strong leaf growth |
| Calcium Nitrate | 15.5-0-0 | Acidic soil | N + calcium support |
| Potassium Sulfate | 0-0-53 | Fruiting stage | Better pod quality |
| MAP | 12-61-0 | Low phosphorus | Fast root and bloom support |
My process is simple: test, pick, and match. If you want a step-by-step grow plan, check this grow okra guide to complement my fertilizer choices and help other growers get steady yields.
Essential Macronutrients for Healthy Growth
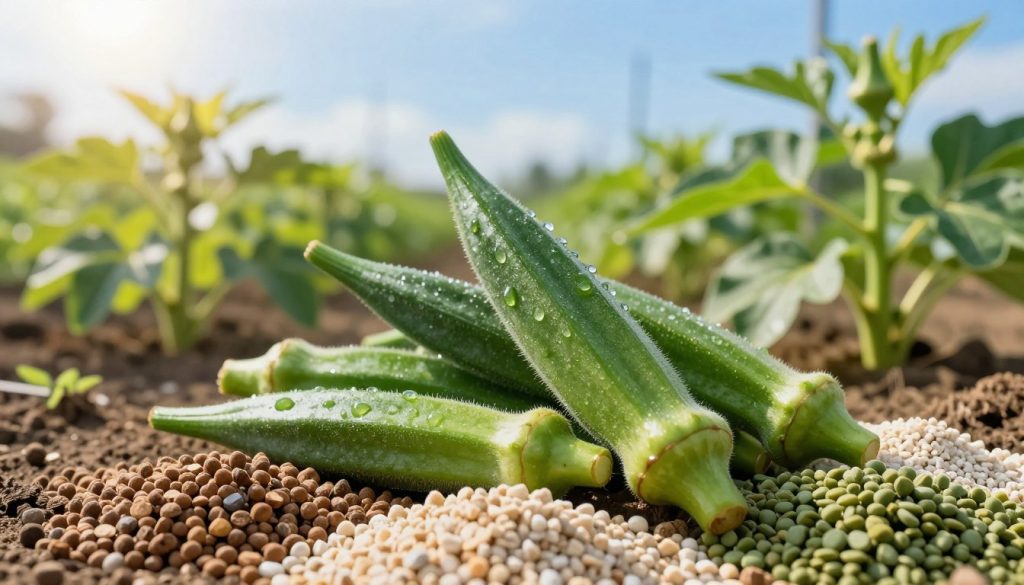
I focus on three macronutrients that steer how my okra develops from seedling to harvest. Each one plays a clear role in the plant’s life cycle, and I match feeds to the stage of growth.
Nitrogen and Vegetative Growth
Nitrogen drives vegetative growth and chlorophyll production. I use modest rates early to build healthy leaves so the plant can capture sunlight efficiently.
Tip: Too much nitrogen delays flowering and reduces pod production, so I scale back as buds appear.
Phosphorus for Roots and Flowering
Phosphorus supports strong root establishment and helps with flower formation. I pay attention when soil temperature is low because phosphorus uptake slows below 60°F.
At planting I add phosphorus to help roots set and to speed early energy transfer for blooms.
Potassium to Improve Pod Quality
Potassium regulates water movement inside the plant and aids carbohydrate metabolism. That control directly affects pod size, flavor, and stress tolerance.
I bump potassium during pod fill so my crop achieves better production without excess leafy growth.
- I balance nitrogen to drive growth but avoid oversupply that delays bloom.
- I add phosphorus at establishment, especially when soil temperature is cool.
- I increase potassium during fruiting to improve pod quality and plant resilience.
- My fertilizer program keeps these nutrients in sync so roots, leaves, and pods all develop well.
The Role of Secondary Nutrients and Micronutrients
Secondary and trace elements quietly decide how well my okra performs. Calcium keeps cell walls firm during pod development, so I watch it closely to avoid blossom problems.
Magnesium sits at the center of chlorophyll, so I look for yellowing leaves as an early sign of lack. Sulfur helps with protein synthesis and often arrives as a companion in my chosen fertilizer mixes.
Iron and zinc are sensitive to pH and turn up deficient in alkaline soil. For those plots I use Chelated Iron EDTA 13% to unlock micronutrients quickly.
- I add organic matter to improve nutrient availability.
- I pick fertilizers that include secondary nutrients so hidden deficiencies don’t limit growth.
- I monitor my plants and soil regularly to catch problems early.
My goal is simple: keep pH in range, feed the small-but-critical nutrients, and the okra plants stay healthy and productive.
Timing Your Fertilizer Applications
Correct timing makes nutrients count when each okra stage needs them most. I plan feedings around growth phases so the soil delivers the right nutrient at the right time.
Vegetative period: I feed my okra plants every 3–4 weeks to support steady leaf and stem growth. This keeps nutrient levels stable without pushing excessive height.
Feeding During Flowering and Fruiting
When flowers appear I reduce nitrogen and move to a potassium-focused mix. I usually switch to potassium sulfate at bloom to encourage pod set and better pod quality.
I apply fertilizer at a rate of 6 grams per gallon of water. During fruiting I space applications every 4–6 weeks and track the days since planting to avoid overlap.
- I adjust rates if soil tests show low phosphorus or other shortages.
- Keeping a calendar for fertilization helps me avoid overfeeding and protects plant health.
- Consistent timing boosts pod production and extends the season for this warm-season crop.
| Stage | Frequency | Main change | Rate |
|---|---|---|---|
| Vegetative | Every 3–4 weeks | Moderate nitrogen | 6 g per gallon |
| Flowering | Start at first bloom | Reduce nitrogen, add potassium | 6 g per gallon |
| Fruiting | Every 4–6 weeks | Potassium-heavy feed | 6 g per gallon |
Adjusting Your Strategy Based on Soil Conditions
I tailor feed plans to the soil under my rows, not to a one-size schedule.
I use calcium nitrate when my soil test shows acidity (pH < 6.0). That keeps nitrogen available and helps neutralize low pH so my okra can access nutrients.
On alkaline ground (pH > 7.0) I switch to ammonium sulfate. It has a mild acidifying effect that helps the plants take up iron and phosphorus.
Texture matters too. In sandy soil I split applications into smaller, more frequent doses to avoid leaching. For heavy clay I cut back on frequency since the soil holds nutrients longer.
For containers I run a complete water-soluble program. Pots have no buffer, so a steady, balanced feed keeps the crop healthy and supports steady growth.
- I test soil regularly and adjust nitrogen and potassium to match needs.
- I avoid over-applying fertilizers and tune rates by soil type.
- My goal is healthy okra plants and consistent yield across any soil.
| Soil Type | Action | Why |
|---|---|---|
| Acidic (pH <6.0) | Calcium nitrate | Raises pH, supplies N |
| Alkaline (pH >7.0) | Ammonium sulfate | Mildly acidifies, aids uptake |
| Sandy / Containers | Split or water-soluble program | Prevents leaching, steady supply |
| Heavy clay | Reduce frequency | Soil holds nutrients longer |
Managing Irrigation and Fertigation Systems
I rely on targeted watering to make every nutrient reach the root zone where okra needs it most.
Drip irrigation delivers water directly to the roots and limits evaporation. I use a drip system from DripWorks to keep soil moisture steady and cut waste.
Drip Irrigation Benefits
Drip keeps the soil around roots evenly moist. That steady moisture helps calcium move into pods and reduces stress during hot spells.
Avoiding Overhead Watering
I avoid overhead sprays because wet foliage invites fungal disease. Overhead water also increases the risk of root rot and other issues that slow plant growth.
- I use water-soluble fertilizer with a fertilizer injector so the lines stay clean.
- I check emitters frequently to ensure uniform flow.
- Delivering water and nutrients to the root zone gives my okra plants a reliable supply all season.
| System | Benefit | Maintenance | When to Use |
|---|---|---|---|
| Drip (DripWorks) | Targets roots, saves water | Flush lines, check emitters | All stages |
| Fertigation with injector | Precise nutrient delivery | Use water-soluble products | Vegetative to fruiting |
| Overhead sprinklers | Fast coverage, no drip layout | Avoid during bloom; dry foliage after use | Seedbed or emergency only |
Troubleshooting Common Nutrient Deficiencies
I rely on simple visual cues to diagnose common nutrient shortages in my garden. Quick checks of leaves and stem color tell me whether the soil or my feed plan needs attention.
I look for iron deficiency when leaves yellow between veins. That sign tells me the nutrient is tight and I often apply chelated iron or adjust pH.
Pale leaves and stunted growth point to low nitrogen. I correct that with a light, balanced fertilizer and steady water so uptake improves.
A purple tint on leaves signals phosphorus trouble, while poor pod quality means potassium is low. I increase potassium applications every weeks during pod fill to support better pods and sustained growth.
- I monitor my okra plants daily, especially the first 60 to 70 days, to catch issues early.
- I keep clear records so patterns in soil and leaf symptoms show up fast.
- This quick guide helps me fix types of deficiencies before they hurt the crop.
Avoiding the Pitfalls of Over-Fertilization
I watch my okra beds closely to catch signs that feeding has gone too far. Over-fertilization can undo careful soil work and reduce the harvest.
Recognizing excess nitrogen is the first step. Too much nitrogen makes tall, leafy plants that set few pods. It also delays flowers and pushes the plant into vegetative growth instead of fruiting.
Signs of Excess Nitrogen
Look for overly dark green leaves, rapid vertical growth, and few or late blooms. If I see those signs, I cut back on nitrogen and stop feeding for a short period.
- I reduce nitrogen and let potassium and phosphorus dominate during flowering.
- I monitor my okra plants every weeks to catch problems early and avoid long-term damage.
- I watch for salt buildup in the soil because excess fertilizer can harm roots and limit water uptake.
Practical guardrails: follow fertilizer labels, use a balanced approach, and favor smaller, targeted applications. Less is often more late in the season. That way my plants shift energy to flowers and pods, not just leaves.
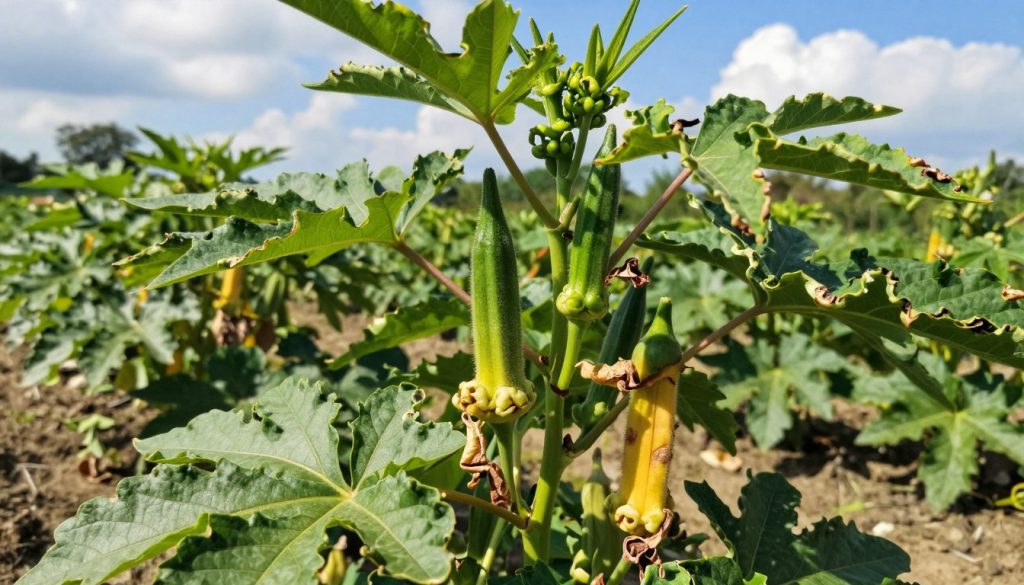
What Fertilizer Should I Use When Planting Okra at the Best Time?
To ensure healthy growth and a bountiful harvest, using the right fertilizer is crucial. For optimal results, start with a balanced fertilizer that has equal parts nitrogen, phosphorus, and potassium. Specifically, during the best time for planting okra, enrich the soil to promote strong root development and fruitful plants.
Tips for Maximizing Pod Production
To push pod counts higher, I focus on small habits that reward the plant every few days.
I harvest when pods reach 3–4 inches. That encourages more pods and steady production.
I pick pods every few days during the main season. Frequent harvesting keeps the plants from setting tough or oversized pods.
Keep water steady in hot weather so growth doesn’t stall. A thirsty plant slows pod set and drops blooms.
Proper spacing matters. I set plants 12 to 24 inches apart so air moves between rows and leaves get sunlight.
- I use an organic fertilizer or add aged manure before planting to feed beds for weeks.
- I boost potassium during pod fill to improve size and flavor.
- I track yield per 100 square feet to measure what changes increase production.
- Seed selection and timing help; plant okra when soil warms and expect fruit in about 60–70 days.
This guide helps growers tune simple steps—spacing, harvest timing, steady water, and organic inputs—to get a fuller crop and longer season.
Conclusion
Abelmoschus esculentus is rewarding when you use a clear, simple plan and steady care.
I have shared the essential information to help you grow fuller, taller okra and reach reliable yields.
Choose balanced fertilizers, water consistently, and feed at the right time to support blooms and pods.
Keep spacing and harvest rhythm so plants can reach practical sizes—often up to six feet—and produce steadily.
Use this guide as a checklist through the season. I hope these tips make growing your own okra straightforward and enjoyable.