

Ethan Brooks
Focused on sustainable practices, careful seed selection, and hands-on experience, our family work closely with nature to produce quality harvests while continuously learning and improving each year..
Latest Posts


Archive
Tags
Social Links
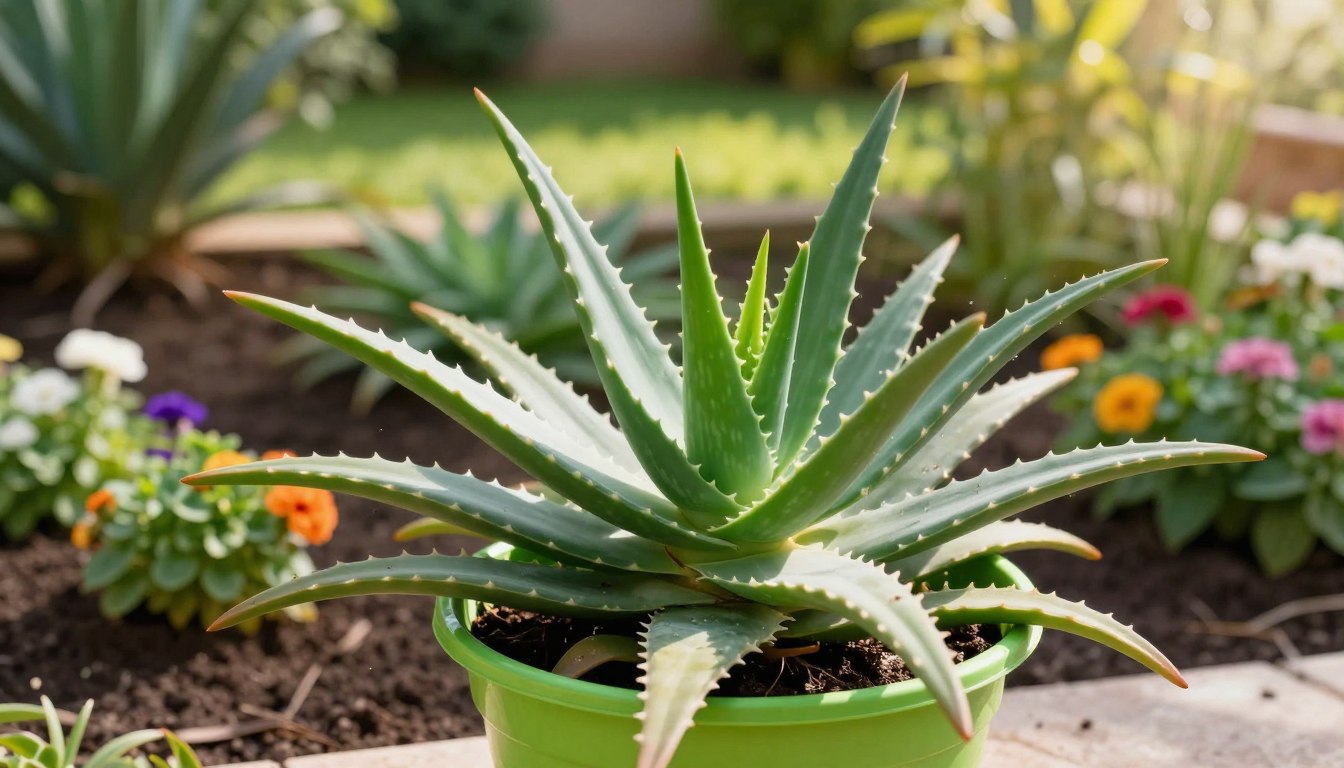

I find growing aloe vera incredibly rewarding. This amazing plant brings nature indoors while offering healing properties.
For centuries, people have used Aloe barbadensis miller for its soothing benefits. It’s even in Doctor Hoy’s® Arnica Boost Recovery Cream for natural pain relief.
This perennial succulent thrives in poor soil and needs little care. With proper conditions, it can live over ten years in your home.
Key Takeaways
- Aloe vera is a tropical succulent with medicinal uses.
- It’s featured in products like Doctor Hoy’s® cream for pain relief.
- Growing aloe at home is simple and beginner-friendly.
- This plant thrives in poor, sandy soil conditions.
- Indoor aloe can live over a decade with proper care.
- It helps purify air while adding natural beauty indoors.
- Aloe requires minimal maintenance once established.
Preparing Your Home Garden for Aloe Vera
Success with succulents starts with mimicking their natural, arid habitat. A few simple preparations create the perfect foundation for your new aloe vera plants to thrive.
Choosing the Right Container and Potting Mix
I always select a terra-cotta pot. Its porous nature helps the soil dry out properly between waterings, which is crucial.
Ensure your container has at least one drainage hole. This prevents water from pooling and protects the roots.
For the potting mix, I use a special blend. It needs excellent drainage. Good components include:
- Perlite
- Lava rock
- Chunks of bark
This combination ensures proper aeration, just like the sandy ground these aloe varieties love.
Establishing Optimal Light and Temperature Settings
These succulents enjoy cozy indoor temperatures. I keep my space between 55°F and 80°F, which is ideal for most homes.
Place your plant in a spot with bright, indirect light. Harsh direct sunlight can scorch the fleshy leaves, turning them yellow.
A bright windowsill with filtered sun is perfect. With the right pot, soil, and environment, your aloe vera will settle in beautifully.
Understanding Aloe Vera: Benefits and Characteristics
Aloe vera’s fame comes from a powerful combination of beauty and utility. I appreciate this plant for its striking looks and its practical, helpful nature.
Exploring the Medicinal and Healing Properties
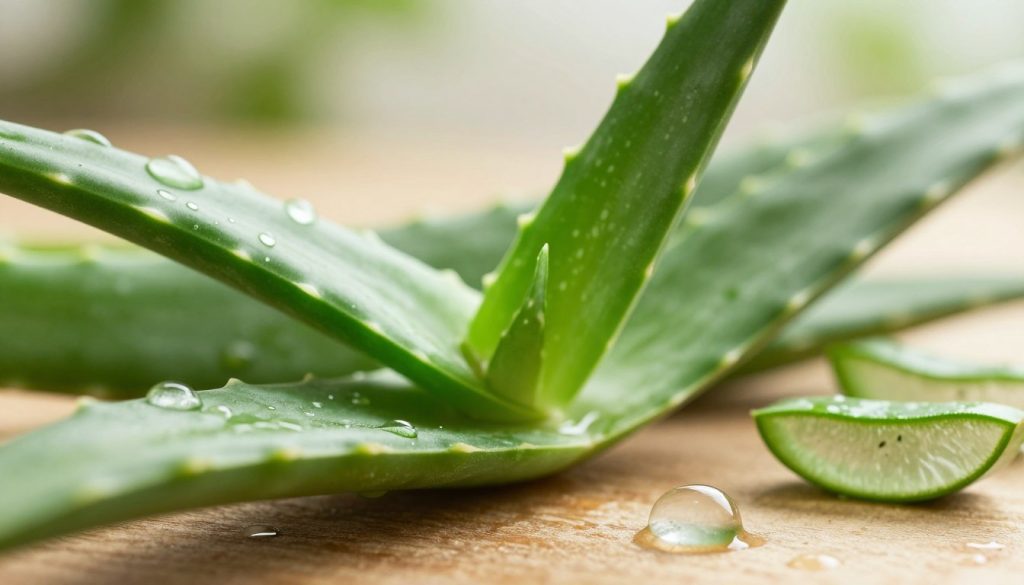
The clear gel inside the leaves is remarkable. I rely on it as a natural remedy for minor burns and skin irritations.
Studies confirm its healing properties. It makes a perfect first-aid kit for your kitchen. Remember, this gel is for topical use only.
| Topical Uses & Benefits | Important Cautions & Notes |
|---|---|
| Soothes first- and second-degree burns | For external use only; never ingest |
| Calms minor skin irritations and cuts | Test on a small skin area first |
| Provides a cooling, hydrating effect | Consult a doctor for serious wounds |
Recognizing Aloe Vera’s Unique Growth Habits
This aloe has a distinct shape. It is mostly stemless, with thick, fleshy leaves fanning out from the center.
Each leaf has serrated edges with small teeth. This is a classic sign of a healthy, mature vera specimen. Its form is as unique as its function.
How to Grow Aloe Vera: Step-by-Step Guide
A step-by-step approach makes nurturing aloe vera plants simple and enjoyable. I focus on two core areas: getting the foundation right and providing consistent daily care.
Following these methods ensures your succulent thrives for years.
Planting Techniques and Soil Requirements
I always begin with a container that has drainage holes. This is non-negotiable for preventing root rot.
My potting mix is fast-draining. I use a cactus blend with added perlite. It mimics the arid conditions this plant loves.
When placing the aloe in its new home, I cover the root ball evenly. The fleshy leaves must stay above the soil line.
This simple step prevents moisture from causing damage at the base.
| Planting Foundation | Daily Care Essentials |
|---|---|
| Container with drainage holes | Check soil dryness 3 inches deep |
| Fast-draining cactus soil mix | Provide 8-10 hours of sunlight daily |
| Leaves positioned above soil | Withhold water after repotting for a few days |
| Firm soil around roots | Adjust routine with seasons |
Watering and Sunlight Essentials
My watering rule is easy. I only add water when the top three inches of soil are completely dry.
This deep dryness check protects the sensitive roots from sitting in moisture.
For light, I aim for eight to ten hours of bright, indirect sunlight each day. This schedule keeps the color vibrant and the form sturdy.
After moving or repotting, I wait before watering. This gives the plant time to recover. For more detailed tips, see this guide on growing aloe vera.
Caring for Your Aloe Vera: Seasonal Tips and Tricks
Adjusting your routine with the changing seasons keeps your aloe plant thriving. I modify my care practices throughout the year to match its natural cycles.
Adapting Watering Routines for Summer, Winter, and Spring
In winter, my succulent enters a dormant phase. I roughly double the time between waterings compared to summer. This simple change prevents root rot effectively.
During spring and summer, I sometimes place my specimen in the garden. From May to September, it enjoys the outdoor air. I always bring it inside before temperatures hit 40°F.
This protects the plant from cold damage. Fertilizer applied once in spring gives young aloe vera a rejuvenating boost.
I use a balanced formula for vigorous growth. By monitoring seasonal changes, I ensure my vera stays healthy year-round.
Propagating and Managing Aloe Vera Pups
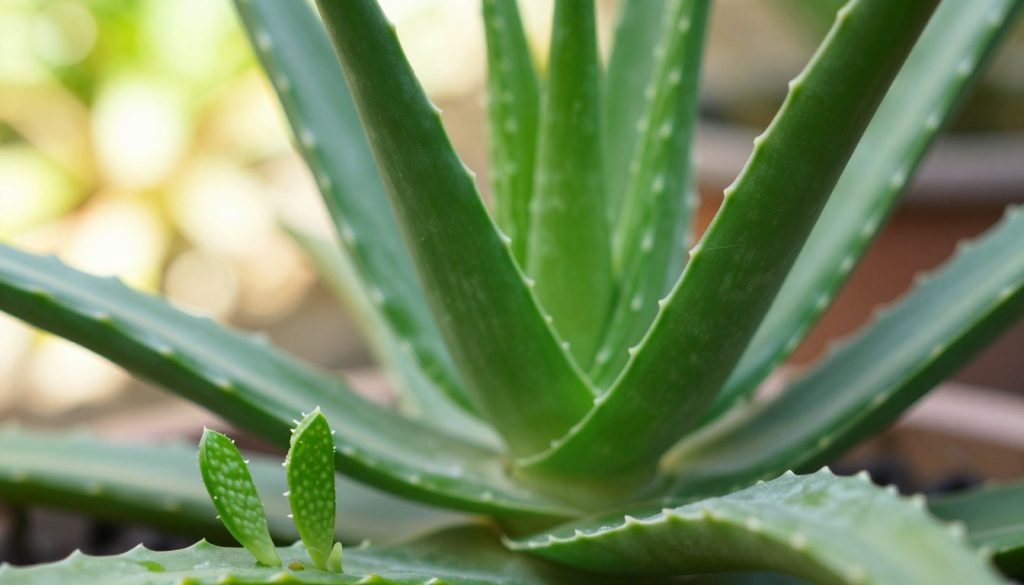
One of the most rewarding aspects of keeping this succulent is watching it produce new baby plants. These offsets, called pups, mean your aloe vera is thriving and ready to expand your collection.
When and How to Remove Pups
I always wait until the pups are four to six inches tall. This size ensures their roots are strong enough for independence.
Carefully brush away the soil to see where the baby connects to the mother plant. A gentle twist usually does the trick.
| Removal Stage | Key Action | Primary Benefit |
|---|---|---|
| Size Check | Wait for 4-6 inch height | Ensures developed root system |
| Separation | Gently twist pup at base | Minimizes damage to both plants |
| Post-Removal | Let cut end dry for 2-3 days | Forms protective callus against rot |
Repotting Strategies for Healthy Growth
After separation, let the offset sit in a dry, shaded spot. This callusing period is crucial before potting.
Choose a small pot with excellent drainage. Use a fast-drying cactus mix to support the new roots. Firm the soil gently around the base.
Sharing the Aloe Love with Friends
If your mature aloe produces many pups, share them! Gifting these little plants is a wonderful way to spread the joy.
I have given vera plants to friends for years. It starts their own succulent journey with a healthy, established plant.
How Does Understanding the Aloe Vera Life Cycle Help in Growing Aloe Vera Successfully?
Understanding the complete aloe vera growth process is crucial for successful cultivation. By familiarizing yourself with each stage—from germination to maturity—you can optimize care routines, ensure ideal growing conditions, and identify potential issues early. This knowledge leads to healthier plants and a more fruitful harvest.
Troubleshooting Common Aloe Vera Issues
Spotting early signs of distress in your succulent helps you take quick action to restore its health. I monitor my aloe vera closely for any changes in its appearance.
Identifying Overwatering, Underwatering, and Rot
Yellowing leaves that feel mushy signal too much water. I stop watering immediately to prevent root rot.
Thin, curled leaves indicate the specimen needs hydration. Black or brown soft spots on a leaf often mean rot from excess moisture.
| Issue | Symptom | Immediate Action |
|---|---|---|
| Overwatering | Yellow, mushy leaves | Stop watering; check soil drainage |
| Underwatering | Thin, curled leaves | Water deeply; adjust schedule |
| Leaf Rot | Black/brown soft spots | Remove damaged leaf; improve air circulation |
Managing Pests and Preventing Leaf Damage
Mealybugs and scale are common pests. They suck sap from leaves and stems.
I wipe them with a cotton swab dipped in rubbing alcohol. For severe cases, insecticidal soap works well.
Proper drainage is the best defense against root rot. I ensure my pot has holes and use fast-draining soil.
These troubleshooting tips keep my garden healthy. I never let water sit on foliage and remove damaged parts promptly.
Conclusion
Integrating a piece of the desert into your home decor can be surprisingly easy and rewarding. This succulent offers more than just striking looks. It’s a living first-aid kit right on your windowsill.
With the right tips on light and water, your houseplant will flourish for many years. Proper drainage holes and occasional fertilizer support its health. A thriving aloe vera will even produce baby pups to expand your indoor garden.
Whether you’re soothing minor burns with its gel or admiring its fleshy leaves, this plant is a true superstar. I hope you feel confident nurturing your own beautiful aloe vera.