

Ethan Brooks
Focused on sustainable practices, careful seed selection, and hands-on experience, our family work closely with nature to produce quality harvests while continuously learning and improving each year..
Latest Posts


Archive
Tags
Social Links
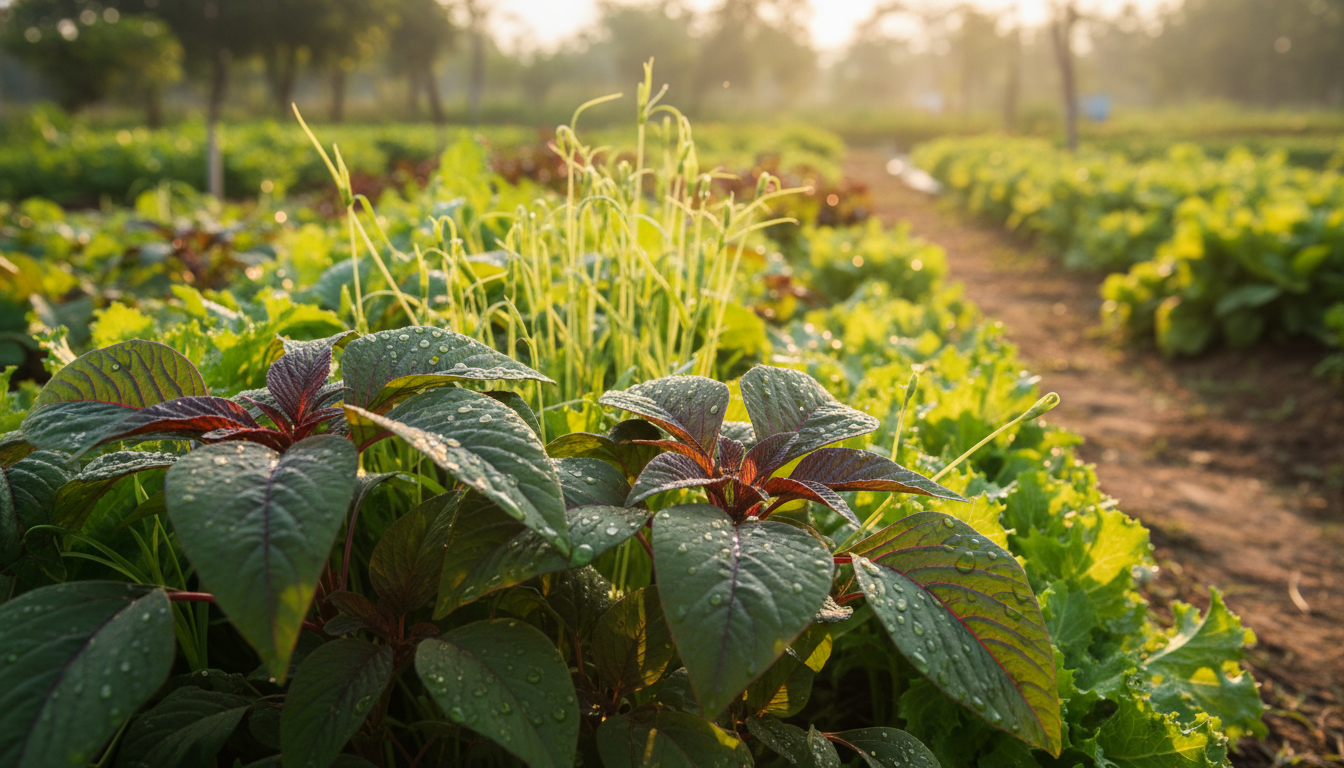

Welcome to the vibrant world of amaranth! This remarkable plant offers both beauty and nutrition. With its striking foliage and nutrient-rich greens, it’s a fantastic addition to any garden. Cultivating this warm-season crop is not just rewarding; it connects you to ancient traditions. Once cherished by the Aztecs, amaranth is known for its protein-packed seeds and tender, spinach-like leaves.
Imagine stepping into your backyard and harvesting fresh greens that not only enhance your meals but also add color to your space. In this guide, I’ll share my journey and tips for cultivating these delicious leaves, ensuring you enjoy the full benefits of this versatile plant.
Understanding Amaranth: Types and Benefits
Diving into the diverse realm of amaranth reveals a world of flavors and textures. This remarkable plant comes in various forms, each offering unique characteristics and benefits. Whether you’re interested in growing it for its leafy greens, nutritious seeds, or stunning flowers, there’s an amaranth variety for everyone.
Different Amaranth Varieties: Vegetable, Grain, and Ornamental
There are approximately 75 species of amaranth, categorized into three main types:
- Vegetable Amaranths: These are grown primarily for their leafy greens. A popular example is Amaranthus tricolor, known for its tender, spinach-like leaves.
- Grain Amaranths: These varieties are cultivated for their seeds, which are packed with protein. They can be used in various dishes, much like quinoa.
- Ornamental Amaranths: Known for their beautiful flower displays, these types include Amaranthus caudatus (love-lies-bleeding) and A. cruentus varieties like ‘Red Spike’ and ‘Hot Biscuits.’
Health Benefits of Amaranth Leaves and Seeds
The health benefits of amaranth greens genuinely impress me. The leaves are rich in vitamins and minerals, making them a nutritious addition to any meal. Moreover, the seeds contain up to 20% protein and are a significant source of lysine, an essential amino acid.
As a gluten-free pseudo-grain, amaranth is an excellent choice for those looking to diversify their diet beyond traditional grains. Incorporating amaranth into meals can boost your protein intake while adding a delightful flavor.
Cultural and Historical Significance
The cultural history of this crop runs deep, with roots stretching back thousands of years. Ancient civilizations, such as the Aztecs and Incas, harvested amaranth for both food and sacred ceremonies. Today, it continues to be a staple in various cuisines around the world.
In Mexico, popped amaranth seeds are still used to make alegría, a traditional sweet treat whose name means happiness. Additionally, the Caribbean dish callaloo, often made with amaranth greens, showcases how this versatile leaf has woven itself into diverse culinary traditions.
| Type of Amaranth | Primary Use | Example Varieties |
|---|---|---|
| Vegetable | Leafy Greens | Amaranthus tricolor |
| Grain | Seeds | Amaranthus hypochondriacus |
| Ornamental | Flowers | Amaranthus caudatus, A. cruentus |
Choosing the Right Amaranth Seeds for Your Garden
Choosing the perfect amaranth seeds can set the stage for a bountiful harvest. The first decision I make is whether I want to focus on leaf production, seed harvesting, or ornamental beauty. Each type of amaranth serves a unique purpose, and understanding these can help you achieve your gardening goals.
Seeds for Leaf Production
For the tenderest, most flavorful greens, I always reach for vegetable amaranth varieties like Amaranthus tricolor. These are specifically bred for leaf production and offer a delightful taste and texture in dishes. Their vibrant colors also add visual appeal to my garden.
Spike vs. Trailing Types for Garden and Cut Flowers
When it comes to cut flowers, I’ve discovered two main types of amaranth: spike and trailing. Spike type amaranth has an upright growing habit, producing stunning plumes that add height and drama to arrangements. Varieties like “Red Spike” and “Autumn’s Touch” are favorites of mine.
On the other hand, trailing types like “Coral Fountain” create cascading ropes of velvety flowers that drape elegantly over the edges of vases. These options are perfect for adding a touch of flair to any floral display.
Where to Buy Quality Amaranth Seeds
Finding reliable sources for amaranth seeds is crucial. Quality seed sources like Native Seeds SEARCH and Grow Organic have become my go-to places for well-adapted amaranth seeds. They offer collections such as Garnet Red Amaranth Greens Seeds and Hopi Red Dye Amaranth Flower Seeds.
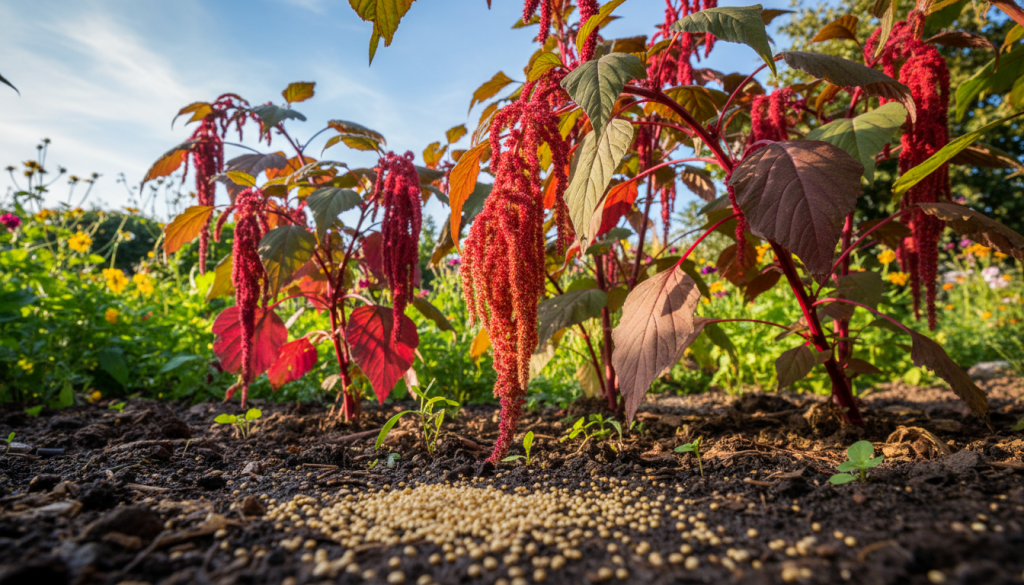
It still amazes me that amaranth seeds are so tiny—less than 1/16 of an inch in diameter. Yet, a single plant can produce up to 100,000 seeds! This means that choosing the right seed type from the start makes all the difference in how successful and satisfying my growing experience will be.
Preparing Your Garden and Soil for Amaranth Planting
Setting the stage for a successful amaranth harvest starts with the right garden and soil preparation. Understanding the needs of this vibrant plant can make all the difference in your growing experience. Let’s explore how to create the ideal environment for amaranth.
Ideal Growing Conditions: Sunlight and Soil
I’ve found that giving amaranth the right start begins with choosing a spot that receives at least six to eight hours of full sunlight each day. This plant thrives in full sun, especially if you aim to harvest seeds or enjoy the beautiful flowers. However, if you plan to focus on the greens, a location with light shade can work well, particularly in hotter climates.
The soil in my garden beds needs to be well-drained because amaranth roots simply don’t like sitting in soggy conditions. Before I plant anything, I always amend my soil with plenty of compost to boost nutrients and improve moisture retention. A neutral pH is also essential, as it allows amaranth to perform at its best and develop vibrant leaves.
Amending Soil for Optimal Growth
To ensure that my amaranth plants thrive, I prioritize soil preparation. Adding organic matter, like compost, enriches the soil and enhances its structure. This helps retain moisture while providing essential nutrients. I’ve learned that taking the time to amend my soil pays off with healthier plants and a more bountiful harvest.
Timing Your Planting Around Frost Dates
Timing is everything with this heat-loving crop. I wait until all danger of frost has passed and the soil has thoroughly warmed up. Checking my local USDA growing zone is a must. I mark my calendar for at least two weeks after the average last spring frost date before I even think about planting.
I’ve learned the hard way that planting too early, when frost still threatens, can wipe out young seedlings overnight. The soil temperature needs to be consistently warm because amaranth seeds simply won’t germinate well in cold, damp conditions. Taking the time to properly prepare my garden beds and wait for the right planting window always pays off with healthier, more productive plants.
How to Plant and Sow Amaranth Seeds Successfully
Sowing amaranth seeds is an exciting step toward a flourishing garden. There are two main methods for planting: starting seeds indoors or direct sowing. Each method has its advantages, and I enjoy experimenting with both to see what works best for my garden.
Starting Seeds Indoors vs. Direct Sowing
When I want an early start, I begin my seeds indoors about four to six weeks before the last spring frost date. Keeping them warm and cozy allows for quicker growth. This method gives me a head start on the growing season.
On the other hand, direct sowing is my preferred way to plant amaranth. I wait until all threat of frost has passed and the soil feels warm to the touch. This approach allows the seeds to germinate quickly in warm soil, and the seedlings take off fast.
Seed Planting Techniques and Spacing
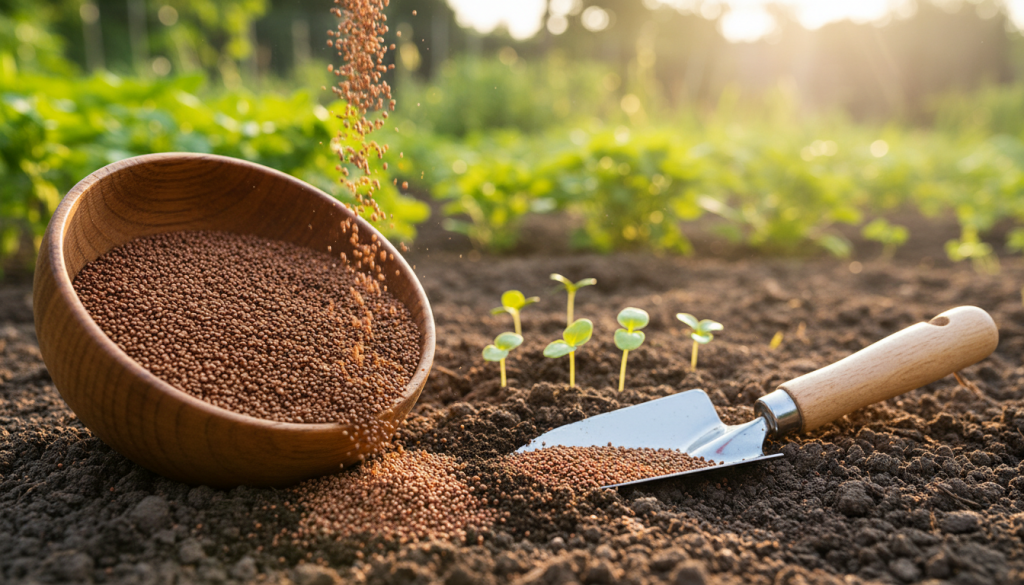
One of my favorite tricks for handling amaranth seeds, tiny as they are, is the toothpick method. I pour the seeds into a small bowl, wet a toothpick, and use it to pick up just one or two seeds at a time. This technique makes planting much easier!
When I scatter seeds directly into my garden beds, I sprinkle a couple seeds in spots spaced about a foot apart. Covering the seeds with just the lightest scattering of soil—no more than a quarter inch—is crucial because they need light to germinate properly.
During those first seven to ten days, I keep the soil consistently moist while I wait for the tiny green seedlings to emerge. Once my seedlings reach about six inches tall, I thin them out to ten to twelve inches apart. This gives each plant room to reach its full potential.
Managing Seedlings and Thinning Practices
I never waste the thinned seedlings; I toss those tender young sprouts right into my salad bowl for an early taste of what’s to come. Proper spacing of twelve to fifteen inches between plants ensures good air circulation and gives each amaranth the space it needs to grow strong and healthy.
By following these simple yet effective planting techniques, I can enjoy a bountiful harvest of amaranth. Whether I start seeds indoors or sow them directly, the anticipation of seeing my garden flourish is always worth the effort!
Caring for Your Amaranth Plants: Watering, Sunlight, and Maintenance
Caring for amaranth plants is essential for a thriving garden. Proper attention to watering, sunlight, and maintenance will ensure that your plants grow strong and healthy.
Watering is crucial, especially in the early days. I’ve found that keeping the soil consistently moist helps my plants establish their roots. Once settled, they can tolerate drier conditions. Here are some tips for watering and fertilization:
Watering and Fertilization Needs
- Consistent moisture is key while my amaranth plants are getting established.
- Using soaker hoses has been a game-changer; they deliver water directly to the soil without wetting the leaves.
- These plants require little to no supplemental fertilizer if I’ve prepared the soil well with compost.
In addition to watering, I’ve learned that pinching and supporting my plants can lead to better growth. This technique encourages bushier plants and more manageable blooms.
Pinching and Supporting Plants for Best Growth
- When my plants reach about knee high, I cut back the central stem to promote bushier growth.
- Without pinching, I’ve seen them grow over six feet tall, making them difficult to use in arrangements.
- Providing support, like tomato cages, helps prevent them from toppling over in strong winds or heavy rain.
Managing pests, weeds, and diseases is another critical aspect of caring for amaranth. Regular attention to these issues can save your plants from stress.
Managing Pests, Weeds, and Diseases
- Weeding regularly is essential; I keep an eye out for redroot pigweed, as its seedlings look similar to my amaranth plants.
- Deadheading spent blooms encourages continued flowering until frost arrives.
- Checking for pests like mealybugs weekly helps me catch any issues early.
With just a little attentive care, my amaranth plants reward me with months of beautiful leaves, stunning flower heads, and eventually, seeds for next season. For more tips on growing plants in your garden, check out this article on growing cardamom.
Harvesting Amaranth Leaves and Using Them in Your Meals
Harvesting amaranth is a delightful experience, as it allows me to enjoy the fruits of my labor while enhancing my meals. The best part is that I can gather leaves at various stages, ensuring freshness and flavor in every bite.
When and How to Harvest Tender Leaves
I start harvesting amaranth leaves when my plants reach about ten to twelve inches tall. At this height, the young leaves are tender and bursting with flavor. I find that these highly nutritious greens are best enjoyed fresh or lightly cooked.
Throughout the growing season, I can continuously harvest leaves, similar to how I would with spinach or chard. The younger leaves make a fantastic addition to salads, while the larger, more mature leaves can be cooked in various dishes. They wilt beautifully into soups, stir-fries, and stews, providing a mild, earthy flavor.
Cooking and Enjoying Amaranth Greens
In my kitchen, I treat amaranth greens just like spinach. One of my favorite recipes is a Caribbean-inspired callaloo stew, which brings together rich flavors and traditions. This dish showcases the versatility of amaranth, transforming simple greens into a hearty meal.
Whether I’m using the young leaves in salads or cooking the older ones, I appreciate how these greens enhance my meals. They add a nutritious boost and a pop of color, making every dish more appealing.
Drying and Storing Amaranth Flowers and Seeds (Bonus Tips)
When it comes to harvesting for cut flowers, I wait until about three-quarters of the tiny blooms on each spike or tassel have opened. This timing ensures that I capture the beauty of the flowers without allowing the seeds to scatter all over my dining table. With proper care, fresh cut amaranth flowers can last an impressive seven to ten days in a vase.
For drying flowers, I simply place the cut stems in a bucket in a warm, dry spot away from direct sunlight. Within about two weeks, I have gorgeous dried blooms that can be used for arrangements or crafts.
When I want to collect seeds, I keep an eye on the flower heads as they mature and turn brown. Once I notice seeds starting to fall, I cut off the entire flower heads and place them in a paper bag or pillowcase. Shaking the bag helps release the tiny grains. To remove any debris, I use a winnowing method—pouring the seeds between two bowls in front of a gentle fan separates the grain from the chaff.
Properly dried amaranth seeds can last for several years when stored in a cool, dark place. Cooking them is wonderfully simple; I just simmer the seeds in boiling water for about twenty minutes until they’re tender and fluffy.
For a fun culinary twist, I love making Fruit and Nut Alegría Bars with popped amaranth seeds. This traditional Mexican treat is not only delicious but also packed with protein.
| Harvesting Method | Best Timing | Use |
|---|---|---|
| Leaves | 10-12 inches tall | Salads, cooked dishes |
| Flowers | ¾ blooms open | Cut arrangements |
| Seeds | When flower heads turn brown | Cooking, storage |
Conclusion
Reflecting on my journey with this remarkable plant, I can confidently say that it brings immense joy and benefits. This vibrant crop offers something for everyone—nutritious greens for meals, stunning flowers for arrangements, and protein-rich seeds for cooking.
I’ve discovered that amaranth is an easy plant to cultivate, making it ideal for both beginners and experienced gardeners. Whether you opt for a vegetable type for tender greens, a grain variety for seeds, or an ornamental with dramatic spikes, you’re sure to enjoy its rewards.
Moreover, saving amaranth seeds allows you to continue this rewarding journey year after year. Even in small spaces like patios or balconies, you can successfully grow this crop and reap a meaningful harvest.
From its ancient roots to modern kitchens, this plant has nourished people for centuries. I encourage you to start small, explore different types, and find your favorite varieties. There’s nothing quite like the satisfaction of harvesting fresh greens from your own garden!