

Ethan Brooks
Focused on sustainable practices, careful seed selection, and hands-on experience, our family work closely with nature to produce quality harvests while continuously learning and improving each year..
Latest Posts


Archive
Tags
Social Links
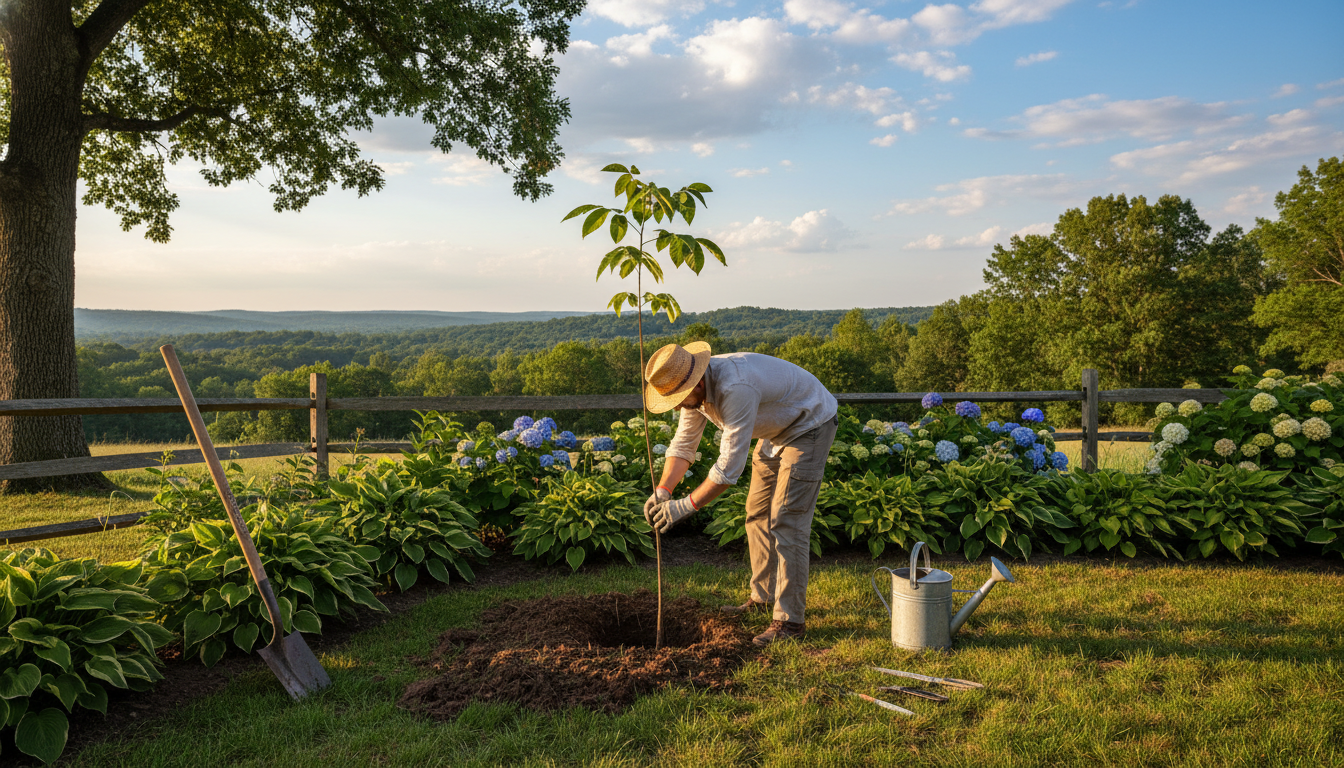

Welcome to my complete guide on how to grow walnut tree specimens right in your own backyard! If you’re looking for a way to enjoy delicious nuts while adding beauty to your garden, you’re in the right place. Walnut trees are not just magnificent; they also provide valuable shade and timber.
In this article, I’ll walk you through the entire journey of cultivating these stunning trees. From selecting the right species and cultivars for your climate to ensuring proper care, I’ll cover everything you need to know. Whether you’re a seasoned gardener or a beginner, my friendly guide will help you succeed every step of the way.
Choosing the Right Walnut Tree Species and Cultivars
When it comes to cultivating walnut trees, selecting the right species and cultivars is essential for success. Understanding the differences between English and black walnuts can significantly impact your gardening experience. Each variety has unique characteristics that cater to different preferences and growing conditions.
English (Juglans regia) vs. Black Walnut (Juglans nigra)
English walnut, scientifically known as Juglans regia, is a popular choice among gardeners. This variety produces the classic, thin-shelled nuts commonly found in stores. Their mild, buttery flavor makes them ideal for baking and snacking.
On the other hand, black walnut, or Juglans nigra, has a stronger taste and thicker shells, making them harder to crack. While they are known for their rich flavor, they may not be as user-friendly for casual nut lovers.
Recommended Cultivars for US Backyard Gardens
For many home gardeners in the United States, I recommend Carpathian-type English walnut cultivars. These trees exhibit superior winter hardiness, tolerating temperatures as low as -20°F. Some of my favorite cultivars include:
- Ambassador: Reliable production in the Intermountain West.
- Idaho: Known for consistent crops year after year.
- Kaiser: A later-flowering cultivar that helps avoid late-spring frost damage.
- Champion: An early-ripening option, great for colder regions.
If you are interested in black walnut trees for their timber and wildlife value, consider cultivars like Kwik Krop or Snyder, although these may be harder to find at local nurseries.
Considerations for Climate and Hardiness
When selecting walnut varieties, it’s crucial to consider your local climate. Many walnut types require a growing season of 140 to 150 days with temperatures above 27-29°F to properly ripen their nuts. Late-spring frosts can damage delicate flowers, so planting later-flowering cultivars is wise.
For smaller gardens, heartnut trees are a fantastic option. They reach only 35 to 40 feet in height and provide a consistent annual crop of sweet nuts. Additionally, most walnut trees benefit from cross-pollination, so planting at least two compatible varieties within 100 feet is advisable for optimal nut production.
| Cultivar | Kernel Size | Yield | Cross-Pollination Requirements | Harvest Time |
|---|---|---|---|---|
| Ambassador | Medium | High | Yes | Late September |
| Idaho | Large | Moderate | Yes | Early October |
| Kaiser | Medium | High | Yes | Mid-October |
| Champion | Large | Moderate | Yes | Late September |
Site Selection and Soil Preparation for Walnut Trees
The foundation of a healthy walnut tree starts with the right location and soil preparation. Choosing the ideal site can make all the difference in your gardening success. These majestic trees thrive in full sun, which is essential for producing abundant nuts year after year.
When I scout locations in my own yard, I look for areas that receive at least six to eight hours of direct sunlight daily. Anything less can significantly reduce nut production and overall tree vigor. It’s also important to avoid planting walnut trees in low-lying frost pockets. Cold air settles in these areas, which can devastate spring flowers and wipe out your entire crop before it even starts.
I always recommend selecting a slightly elevated position with good air drainage. This helps protect those delicate blooms from late-spring freezes, which are common across much of the United States. While young walnut trees can tolerate light shade, they truly flourish in full sun.
The ideal soil for walnut trees is a well-drained, fertile loam that retains moisture without becoming waterlogged. I’ve seen these adaptable trees grow in various soil types with proper preparation. Before I plant anything, I conduct a thorough soil test to check pH levels and nutrient composition. This tells me exactly what amendments my soil needs for optimal walnut growth.
Walnut trees prefer slightly alkaline soil conditions. If your test reveals acidic soil, you may need to add lime to raise the pH to a more suitable range. I’m a big believer in incorporating generous amounts of compost into the planting area. Mixing one part organic matter with three parts native soil improves drainage and provides slow-release nutrients.
Good drainage is absolutely essential because walnut trees develop deep taproots that will rot if they sit in standing water for extended periods. I also make sure to clear away any perennial weeds from the planting site, as these compete aggressively for water and nutrients during those critical first years of establishment.
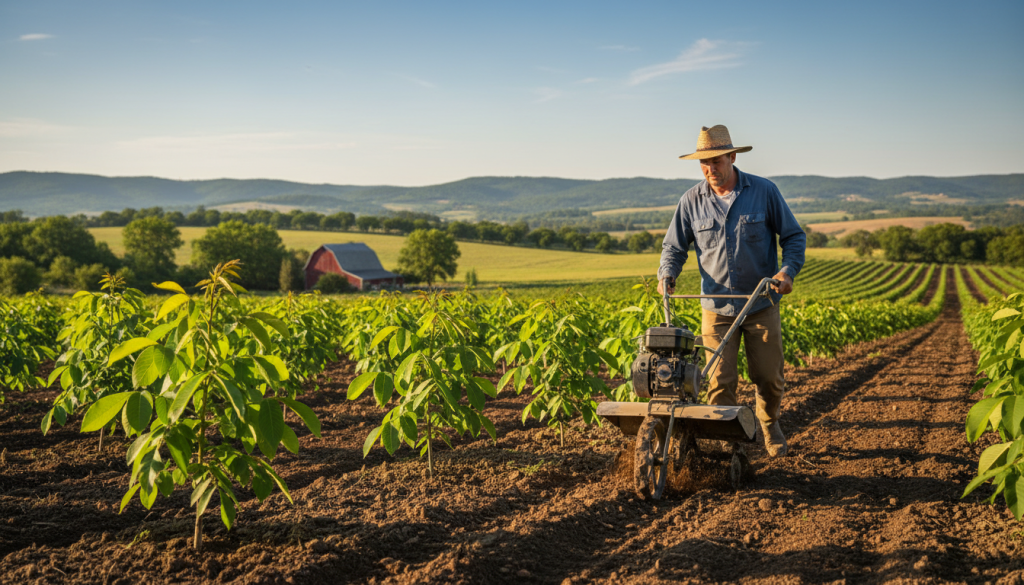
How to Grow Walnut Tree: Planting Techniques and Spacing
Establishing walnut trees requires careful planning and execution. Timing plays a crucial role in ensuring that your trees thrive. The best time for planting is during late autumn or winter when the trees are dormant. This timing allows their roots to settle in before the vibrant growth of spring.
When to Plant: Timing and Season
In my experience, planting during these cooler months gives young trees the best chance for success. I dig a generous planting hole that is twice as wide as the root system but only deep enough to meet the root collar. This ensures the tree sits at the same depth it grew in the nursery.
Planting Bare-Root and Containerized Trees
When I work with bare-root walnut trees, I carefully inspect the roots for any damage. It’s essential to keep them wrapped in moist sawdust or peat moss until I’m ready to plant. Containerized trees are more forgiving, but I still handle them gently and tease out any circling roots before placing them in the ground. This encourages outward growth.
One of my best tips is to mix plenty of compost into the backfill soil at a ratio of one part organic matter to three parts native soil. This gives young trees the nutrient boost they need right from the start.
Proper Spacing for Backyard and Orchard Settings
Proper spacing is something I take very seriously. Mature walnut trees can reach heights of 50 feet and spread just as wide. Therefore, I space them 30 to 50 feet apart in a home orchard setting. I never plant walnut trees directly in turf or lawn areas because grass competes aggressively for water and nutrients. This competition can reduce the tree’s growth rate by up to 50 percent.
If you must plant near a lawn, I recommend removing the sod at least 2 to 3 feet away from the trunk. Replacing it with a thick layer of organic mulch helps protect the roots. After planting, I water deeply to settle the soil around the roots and eliminate any air pockets that could dry out the delicate root system.
Additionally, I make sure to stake young trees loosely to protect them from strong winds during their first year. This allows some movement, which strengthens the trunk and encourages healthy growth.
Essential Care and Maintenance for Healthy Walnut Trees
Caring for walnut trees is essential for ensuring their long-term health and productivity. Proper care can make a significant difference in the growth and nut production of these magnificent trees. In this section, I’ll cover the vital aspects of watering, fertilization, mulching, and pruning.
Watering Schedules for Young and Mature Trees
I’ve found that establishing a proper watering routine is the single most important factor in helping young walnut trees survive those critical first two to three years after planting. For newly planted trees, I water deeply but infrequently, allowing the soil to dry out moderately between irrigations. Daily watering can actually suffocate the roots and cause more harm than good.
Once my walnut trees are established after two to three years, I switch to watering approximately two feet deep into the soil one to three times a month during the hottest summer months. Clay soils retain moisture longer than sandy soils, so I always adjust my watering schedule based on my specific soil type and the outdoor temperature.
Fertilization Recommendations and Mulching
When it comes to fertilization, I only apply a balanced fertilizer in early spring as the trees begin actively growing. I rely on a soil test to tell me exactly what nutrients are needed. I’m a huge advocate for mulching, and I spread 2 to 3 inches of organic mulch over the root zone. This helps retain soil moisture, suppress weeds, and regulate soil temperature throughout the year.
Pruning Practices and Training Your Tree
Pruning is something I approach with care. I always train my walnut trees using a central leader system to develop a strong, straight trunk with well-spaced scaffold branches. I do all my pruning in late summer to early fall. Pruning in late winter or spring can cause excessive sap bleeding that, while not seriously harmful, is unsightly and stresses the tree.
Regular pruning also helps me remove any dead, damaged, or crossing branches that could become entry points for pests and diseases. I keep the area under the tree’s drip line free of weeds through hand cultivation or shallow mechanical cultivation no deeper than 2 to 3 inches to avoid damaging surface roots.

Managing Common Walnut Tree Pests and Diseases
Managing pests and diseases is crucial for the health of walnut trees. These challenges can affect the production and quality of nuts. As a gardener, I’ve learned that being proactive is key to keeping my trees healthy.
The walnut husk fly is by far the most common insect pest I encounter in my own backyard orchard. These pesky flies emerge from the soil in early to mid-July. They lay eggs just below the surface of the nut husk, where the maggots feed. This feeding can cause black staining that makes husk removal a real challenge.
I’ve had great success reducing husk fly populations by placing landscape fabric under the tree canopy in late summer. This prevents larvae from entering the soil to pupate. For chemical control, I use homeowner-labeled sprays containing spinosad, malathion, or permethrin. I always follow the label instructions carefully to maximize effectiveness and minimize risks.
Controlling Walnut Husk Fly
Taking action against the walnut husk fly is essential. Monitoring your trees during the summer months can help catch infestations early. I recommend inspecting the nuts regularly for signs of damage.
Identifying and Preventing Thousand Cankers Disease
Thousand cankers disease is the most serious threat to walnut trees, especially black walnut. This disease is caused by a fungus called Geosmithia morbida, spread by the walnut twig beetle. Once a tree shows symptoms like yellowing leaves and crown thinning, the disease is nearly always fatal within two to four years.
Unfortunately, there are no registered pesticides for treating infected trees. I focus entirely on prevention by maintaining optimal tree health and promptly removing any infected trees from my property. I’ve learned that English walnut trees show more resistance to thousand cankers disease than black walnut, which is another reason I often recommend them for home gardens.
Other Pests and Disease Concerns to Watch For
Other issues I watch for include grey squirrels, which can be incredibly frustrating pests. I’ve found that wrapping trunks with plastic tree guards and raising lower branches to 6-8 feet helps deter these clever critters from stealing my entire nut crop.
Additionally, I keep an eye out for codling moth damage to developing nuts. Walnut leaf blotch and anthracnose can also affect the leaves, though these are generally less serious and can be managed with good sanitation practices.
Harvesting, Processing, and Storing Walnut Nuts
Autumn brings excitement as the time for harvesting walnuts arrives. Most walnut species start producing nuts at around 7 to 8 years old. By the time they reach about 15 years, they come into full production. In a home orchard, a mature tree can yield between 50 and 80 pounds of unshelled nuts annually.
As the leaves change color, the surrounding husks dry, signaling that the nuts are ripe and ready for harvesting. I find that gently shaking individual limbs by hand or using a PVC pipe can help dislodge ripe nuts. It’s crucial to collect fallen nuts several times a week, as they quickly lose quality once on the ground.
When and How to Harvest Walnuts
The moment I’ve been waiting for arrives in autumn when the green husks surrounding my walnuts begin to split open. This signals that the nuts are ripe and ready for harvesting. I collect fallen nuts several times a week because they lose quality quickly on the ground. I also gently shake limbs by hand or use a PVC pipe to knock loose any ripe nuts that haven’t dropped yet.
Removing Husks and Drying Nuts Safely
Removing the husks is the messiest part of the process. I always wear waterproof gloves to prevent the stubborn brown stains from covering my hands for days. For stubborn husks that won’t come off easily, I moisten the nuts and store them in a sealed container for one to three days. This softens the husks and makes them much easier to peel away.
I’ve tried various husk removal methods over the years, from hand peeling and wire brushing to rolling nuts on expanded sheet metal. Each method works well depending on how many nuts I’m processing. After husking, I wash all the nuts thoroughly to remove any remaining husk material. Then, I dry them at the optimal temperature between 95 and 105° F to preserve their flavor and quality.
Storing Walnuts for Long-Term Use
I know my walnuts are sufficiently dry when the kernels snap crisply and the packing material between the nut halves is brittle and breaks easily. For long-term storage, I keep my dried walnuts in a cool, dry place. Nuts stored at room temperature should be used within 3 to 6 months. They will last for up to a year when stored below 32° F. At temperatures below 0° F, nuts will store for 2 years or more.
I’ve learned the hard way not to harvest nuts with blackened, softened husks. This can taint the flavor of the inner nut, so I always aim to collect them when the husks are still fresh and green.
Benefits of Growing Walnut Trees in Your Backyard
The benefits of having walnut trees in my backyard are truly remarkable and multifaceted. These magnificent trees offer more than just beauty; they provide a wealth of nutritious nuts and a host of other advantages.
Nut Production and Nutritional Value
Growing walnut trees has been one of my most rewarding experiences. The nuts are packed with Omega-3 fatty acids and provide 4 grams of protein per quarter-cup serving. I love knowing that the walnuts I harvest are rich in heart-healthy monounsaturated and polyunsaturated fats. Including them in my diet may help reduce LDL cholesterol.
Shade, Timber, and Wildlife Habitat
Beyond nut production, my walnut trees provide magnificent shade during hot summer months. This creates a cool, inviting space in my garden where I can relax and enjoy the outdoors. These stately trees also add significant value to my property through their beautiful timber potential. I appreciate knowing that future generations may benefit from the wood these trees produce.
I’ve noticed how my walnut trees attract a wonderful variety of wildlife. Squirrels, woodpeckers, and beneficial pollinators visit the spring flowers, adding life to my garden.
Challenges and Considerations
One challenge I’ve had to navigate is juglone toxicity. This natural chemical compound produced by walnut trees can inhibit the growth of sensitive plants nearby. I’ve learned that tomatoes, apples, blueberries, and azaleas are particularly sensitive to juglone. To manage this, I keep these plants at a safe distance from my walnut trees’ root zones.
To mitigate allelopathy in my garden, I promptly remove fallen walnut leaves in autumn. I fully compost them before using the compost near sensitive plants. Fortunately, many common garden plants tolerate juglone well, including Kentucky bluegrass, fescues, and various shade-tolerant perennials that I’ve successfully grown under my trees.
Despite these challenges, I firmly believe the benefits of growing walnut trees far outweigh the considerations. With proper planning, any backyard gardener can enjoy these magnificent trees.
Conclusion
In my exploration of walnut cultivation, I’ve discovered that patience and attention to detail yield remarkable rewards. Growing these majestic trees not only brings delicious nuts but also enriches your garden with beauty and history.
As you select the right cultivar and prepare the soil, remember that each step is crucial for a successful harvest. With proper care, young trees will flourish and provide bountiful yields for years to come.
The joy of harvesting homegrown walnuts and enjoying their rich flavor is an experience that makes all the effort worthwhile. Embrace the challenges and rewards of nurturing these incredible trees, and you’ll create a lasting legacy in your yard.
For more insights on soil and climate requirements, check out this resource.