

Ethan Brooks
Focused on sustainable practices, careful seed selection, and hands-on experience, our family work closely with nature to produce quality harvests while continuously learning and improving each year..
Latest Posts


Archive
Tags
Social Links


Harvesting fresh peas from your own garden is a delightful experience. Understanding the best time to sow seeds can make all the difference. Early spring offers the perfect conditions for these cool-season crops. Gardeners often start sowing seeds in February, March, or April to ensure a bountiful harvest before the summer heat arrives.
In this guide, I will share insights on selecting the right varieties and preparing your garden for a successful planting season. The taste of freshly picked peas far surpasses those from the grocery store, which often taste starchy. With a little care, enjoying sweet, crisp peas from your garden can become a reality.
Join me as we explore the joy of gardening and the secrets to growing these delicious green gems!
Key Takeaways
- Fresh peas are best harvested in early spring.
- Planting early is crucial for optimal flavor and texture.
- Choosing the right varieties enhances your gardening success.
- Freshly picked peas taste significantly better than store-bought ones.
- Proper garden preparation leads to a bountiful harvest.
Understanding the Basics of Pea Gardening
Let’s dive into the essentials of cultivating peas in your garden. These plants are fascinating and offer numerous benefits. One interesting fact is that Gregor Mendel conducted groundbreaking research using garden peas in the mid-1800s. This work laid the foundation for modern genetics.
Additionally, peas belong to the legume family, which means they fix nitrogen in the soil. This process enriches the earth, benefiting other plants in your garden. Here are some reasons why growing these plants is a rewarding experience:
- Different varieties offer unique culinary benefits, whether you enjoy them raw, cooked, or shelled for winter soups.
- Gardening with peas provides fresh, nutritious food for your family throughout the season.
- These plants are considered among the easiest vegetables to grow, making them perfect for both beginners and experienced gardeners.
For more detailed guidance on growing peas, check out this helpful resource.
When Do You Plant Peas: Timing and Temperature Guidelines
A successful garden relies on planting at the right time, particularly for these seasonal favorites. In many regions of the United States, St. Patrick’s Day, March 17, is a traditional date for sowing seeds. This timing often coincides with soil that is thawed and workable.
While peas can germinate in soil temperatures as low as 40°F, they thrive best when the soil warms to between 60°F and 85°F. This range allows for robust growth and a healthier harvest.
It’s also important to consider frost. Late spring frosts can damage young plants and deform developing pods. I recommend protecting your plants if frost is expected. Additionally, a second crop can be planted in late summer or early fall, about 6 to 8 weeks before the first frost.
By keeping an eye on the weather, I can ensure that my seeds are sown at the perfect time for my specific region. With careful planning, the joy of harvesting fresh peas will be well worth the effort!
Choosing the Right Pea Varieties for Your Garden
The choice of pea varieties can make a significant difference in your garden’s productivity. Different types offer unique flavors and textures, catering to various culinary needs. Here, I will help you navigate the options of sweet peas, snap peas, and snow peas.
One excellent option is the ‘Green Arrow’ variety. It grows 2 to 3 feet tall and is highly tolerant of mildew and fusarium wilt. This resilience makes it a favorite among gardeners.
Another popular choice is the ‘Sugar Snap’ pea, reintroduced by Johnny’s Selected Seeds. Its thick, edible pods are sweet and perfect for snacking.
- Choosing between sweet peas, snap peas, and snow peas depends on your garden space and culinary preferences.
- The right variety can be determined by whether you prefer to eat the whole pod or shell the peas inside.
- Identifying the best types of peas suited to your local climate is crucial for success.
Preparing Your Garden and Soil for Planting
Preparing your garden and soil is a crucial step for successful growth. Proper soil conditions ensure that plants thrive and produce the best yield. A well-draining environment is essential for the health of your crops.
To create this ideal soil, I recommend mixing in aged manure or compost in the fall. This not only enhances drainage but also enriches the soil with vital nutrients. While these plants can fix their own nitrogen, a little compost can boost their overall health.
It’s also important to choose a sunny spot for your garden. Although peas can tolerate some shade, the sweetest flavors develop in full sunlight. Avoiding excess nitrogen is key, as it promotes leafy growth instead of the flowers and pods we desire.
Lastly, I suggest testing your soil to ensure it has the right balance of nutrients for your seeds. This simple step can make a significant difference in your gardening success.
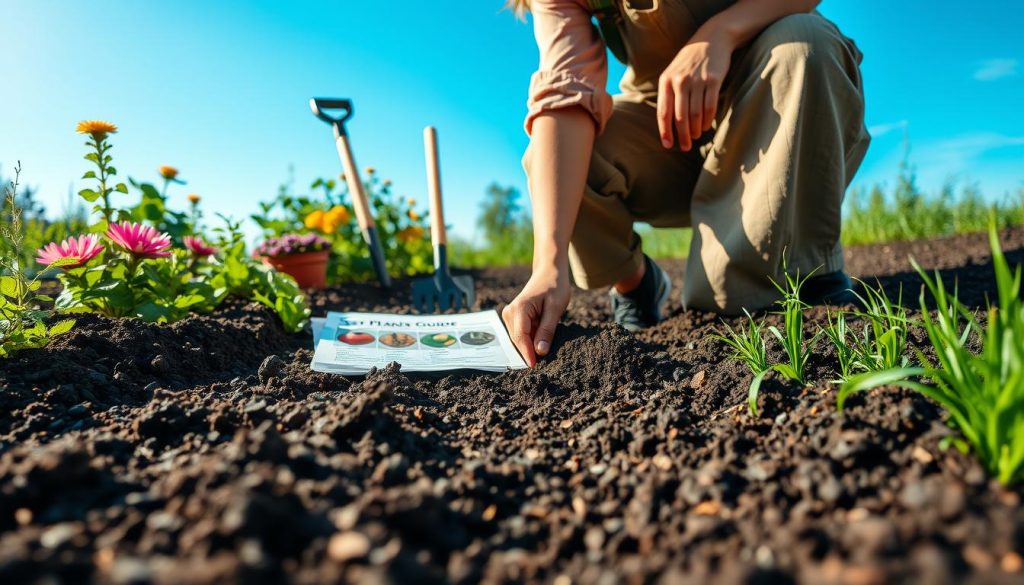
Step-by-Step Guide to Planting Pea Seeds
Let’s explore the step-by-step process for successfully sowing seeds in your garden. Understanding the right techniques will ensure healthy growth for your plants.
One effective method is direct seeding. These plants generally dislike having their roots disturbed, so sowing directly into the ground is best.
Direct Seeding Techniques
- I will demonstrate the best way to direct-seed your peas into the ground.
- Soaking your seeds in water overnight is a simple technique to speed up germination before planting.
- Space your seeds 2 inches apart in rows that are 7 inches apart to ensure healthy plant development.
- Planting 1 inch deep is standard, though you should go slightly deeper if your garden soil is dry.
- If you choose to start your seeds indoors, I will provide instructions on using biodegradable pots before moving them to the garden.
Seed Soaking and Planting Depth
Soaking seeds helps jumpstart the germination process, giving your garden crop a head start. This simple step can lead to a more robust yield.
Setting Up Trellises and Supports
Creating a sturdy support system for climbing plants is essential for maximizing your garden’s yield. A well-constructed trellis not only helps the plants grow upward but also improves air circulation and sunlight exposure. This is especially important for climbing varieties that need assistance to thrive.
To build an inexpensive A-frame trellis, I recommend using 30 bamboo canes and garden netting, as suggested by Hanna Sillitoe. This structure provides ample support for your climbing vines. Installing your support system before the plants establish their shallow roots is vital for preventing damage later on.
DIY Pea Stick and Bamboo Canes Construction
As the vines grow, their tendrils will naturally wrap around the netting, twine, or bamboo. This climbing behavior helps the plants gain height and encourages healthy growth. Even bush varieties can benefit from support, particularly if they exceed 2 feet in height.
Tips for Installing Netting and Twine
For added stability, I suggest securing your netting with tent pegs. This will ensure your structure remains stable during windy spring weather. With the right support, your garden will flourish, and you’ll enjoy a bountiful harvest of delicious peas!
Essential Watering, Fertilizing, and Mulching Practices
Caring for your plants through proper watering and mulching can significantly enhance their growth. Establishing a routine will help ensure your crops thrive without the risk of rot.
It’s crucial to water your plants with no more than 1 inch of water per week. This approach keeps the soil moist while preventing excess moisture that could lead to rot.
Applying a 2-inch layer of organic mulch, such as straw or grass clippings, is another effective practice. This layer helps retain soil moisture and suppresses weeds around your plants.
Proper Watering Schedules
- I will explain why watering your plants with no more than 1 inch per week is the ideal schedule to prevent pea rot.
- You will learn that applying a 2-inch layer of organic mulch, such as straw, helps your garden retain moisture during dry spells.
- I will show you how to water at the soil level to keep the foliage dry and prevent common fungal diseases from spreading.
- You will discover that while peas fix their own nitrogen, a little extra plant food can be beneficial in very poor soil.
- I will guide you on how to cultivate weeds carefully by hand to avoid disturbing the fragile, shallow roots of your plants.
| Practice | Benefit | Frequency |
|---|---|---|
| Watering | Prevents rot | 1 inch/week |
| Mulching | Retains moisture | As needed |
| Fertilizing | Boosts growth | Monthly |
Troubleshooting Common Pea Growing Problems
Understanding the common challenges in growing these delightful plants can help you achieve a thriving garden. Issues such as pests and diseases can arise, but with the right knowledge, managing them becomes easier.
Aphids are a common pest that can affect your plants. I recommend using insecticidal soap or attracting natural predators like wasps to keep their numbers in check. This method is safe and effective for your garden.
Another concern is powdery mildew, which often appears as white spots on leaves. Improving air circulation around your plants can help prevent this issue. Ensuring good drainage is also essential for overall plant health.
Fusarium wilt is another fungal disease to watch for. Choosing resistant varieties and practicing crop rotation every four years can minimize its impact. Keeping your plants healthy is the best defense against diseases that might otherwise affect your beans or peas.
Finally, I advise removing any infected plant matter immediately. This action can help stop the spread of fungal issues like powdery mildew, ensuring your garden remains vibrant and productive.
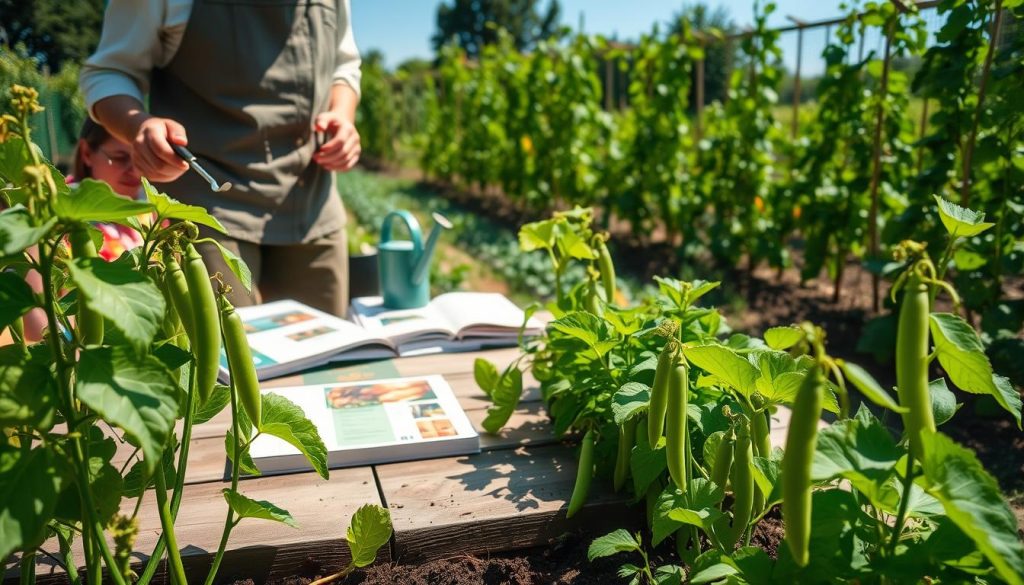
What is the Best Time to Plant Peas in Relation to Planting Millet?
Timing is crucial for a successful garden, especially when considering a millet planting schedule for gardeners. Peas thrive in cooler temperatures and can be planted in early spring, while millet prefers warmer conditions. Planting peas first ensures they establish well before the heat, allowing for a bountiful summer harvest of both crops.
Harvesting and Storing Your Garden Peas
Harvesting your garden’s bounty requires careful attention to timing and technique. Most varieties reach peak ripeness between 60 to 70 days after sowing. It’s essential to check your pods daily once the flowers bloom to ensure they are harvested at the right moment.
When your snap pods appear plump and glossy, it’s time to pick them. This ensures the best sweet flavor for your meals. Remember to use two hands when picking to avoid damaging the fragile vines of your plants.
After harvesting, proper storage is crucial for maintaining freshness. Here are some effective techniques:
- I will teach you how to identify when your pods are at peak ripeness.
- You will learn that harvesting snap pods ensures the best flavor.
- I will explain the proper way to pick without harming the plants.
- You will discover that shelling peas is ideal for freezing if you have a large harvest.
- I will provide instructions on storing your fresh harvest in the refrigerator or blanching them for the freezer.
| Storage Method | Duration | Notes |
|---|---|---|
| Refrigeration | Up to 5 days | Keep in a breathable bag |
| Blanching and Freezing | Long-term | Blanch for 2 minutes before freezing |
| Shelling | Immediate use | Best for quick meals |
For more tips on growing and harvesting, check out this helpful resource.
Conclusion
Establishing a thriving garden requires knowledge and dedication, particularly for those eager to enjoy homegrown delights. I hope this guide has inspired confidence to start growing your own peas and reaping the rewards of a home garden.
With the right variety selected, soil prepared with compost, and a sturdy trellis in place, success is within reach. Consistent watering and timely harvesting are essential for keeping plants productive throughout the cool spring season.
Whether cultivating snap peas or shelling varieties, the fresh taste of your harvest will make every effort worthwhile. Keep an eye on the weather to protect your plants from late frost, ensuring a successful yield.
Remember, gardening is a journey of continuous learning. Embrace the opportunity to experiment with different techniques each season, and enjoy the fruits of your labor!